Showing posts with label valentine. Show all posts

Saturday, February 13, 2021

Patterned Paper Valentines

 Happy Valentine's Day!  

Today I'm sharing some Valentines that I made that are GREAT because: 

  1. They use up patterned paper that you might have a hard time using in other ways
  2. They are easy and can be done in stages while watching lots of TV
  3. They can be done with any patterned paper, sentiments, etc... so they aren't specific to V-Day
  4. They are flat and VERY mail-able! 
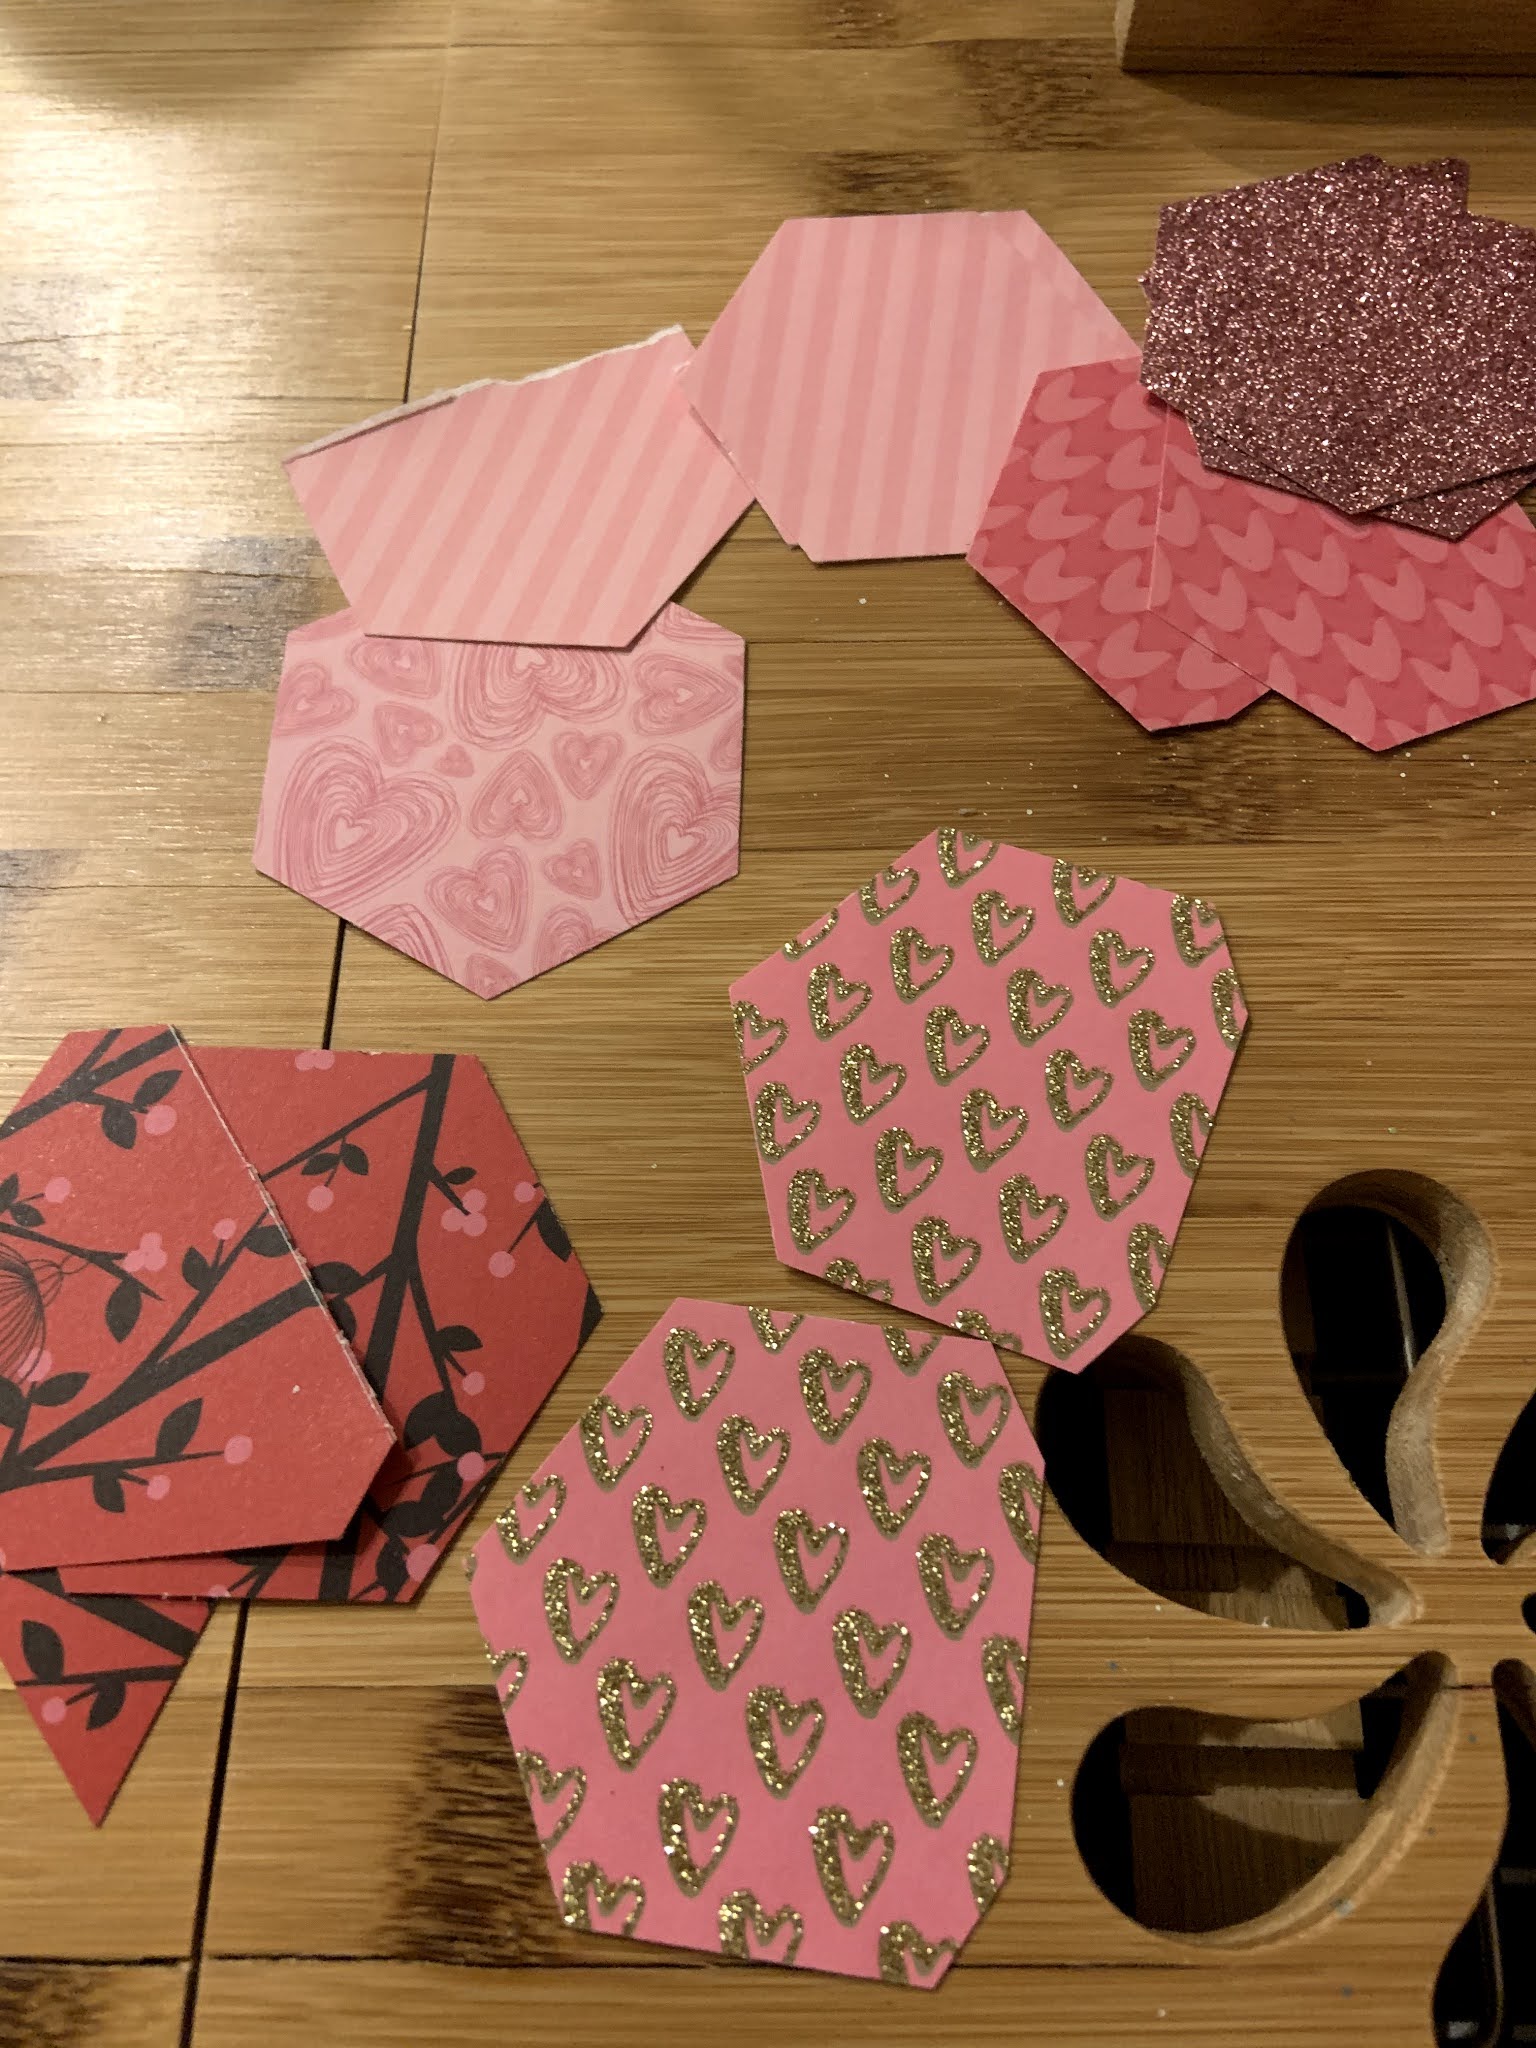
I have a hexagonal paper punch that I really love and don't use enough.  For these cards, I took this punch and several V-Day patterned papers that I know I wouldn't use for a background and I punched out a TON of hexagons and partial hexagons.  I had VERY little paper leftover from this process, and I used almost all of them to make a total of 6 cards!  I also punched white/blank hexagons to glue on for sentiments.  

Note: you could do this with lots of punches, even circles!  You could also do it with a shape die cut OR simple paper strips too!  There's really no wrong way to do it!  The idea is to use up some patterned paper to create a new, interesting card front!  


Then, I glued the hexagons onto a 4.25 by 5.5 piece of pink cardstock.  I left a little border around the hexagons but you could also completely cover up the background if you wanted to!  If you are going to leave a border, try to pick a color that matches your pieces.  This process was pretty easy and mindless, and I did it while I was watching TV. 


The next day, I stamped a sentiment on each card.  I used a simple "With Love" sentiment because I liked the simple stamp against the busy background.  Then, I glued the card fronts to plain, white cards!  


And that's it!  This project was super great because it used up a bunch of my papers in a creative way, AND it creates a beautiful background that is also flat and easy to mail!  I'm looking forward to revisiting this idea in the future for some fun and fast birthday cards!  

Have you ever done something similar to this with patterned paper? What shape of punch or die cut would you use?  Let me know in the comments below!  

Saturday, February 6, 2021

DIY - Easy, Fun Valentines Wreath!

 What's up everyone!  So as Valentine's Day is *rapidly* approaching (checks status of Valentine gifts.... realizes she needs to send them NOW...), I wanted to share a fun, easy DIY project that my daughter and I did together.  We made a Valentine's Wreath out of wooden heart pieces and cardboard!  

Supplies for the Wreath: 

  • Wooden Hearts we used these from Amazon, $13.99.  We used about 2/3 of the hearts for our wreath.  
  • Red, Pink, White and Silver Craft Paint $3.20 ($0.79 each at Michaels)
  • Washable School Glue - $0.85 at Target, but we already had glue
  • Paint Brushes  - you can get a whole set of these for about $1 lots of places
  • A Large Cardboard Box
  • Craft Knife or Scissors
  • Ribbon
Optional: Paint or Posca Pens for decorating.  You could just as easily decorate these with the craft paints from above, but we used paint pens.  

Total Cost: $19.09 (or less depending on what you already have at home)

We started by painting about 80 of the wooden hearts solid colors (20 of each).  We let these dry overnight.

I then cut a heart out of an old cardboard box.  The dimensions ended up being about (enter dimensions here). Then, we splotched paint all over the heart so that the background wouldn't just be blank cardboard.  You *could* use wood for this step, but we are keeping our wreath inside in a temperature controlled part of the house, so we just used some leftover corrugated cardboard.    

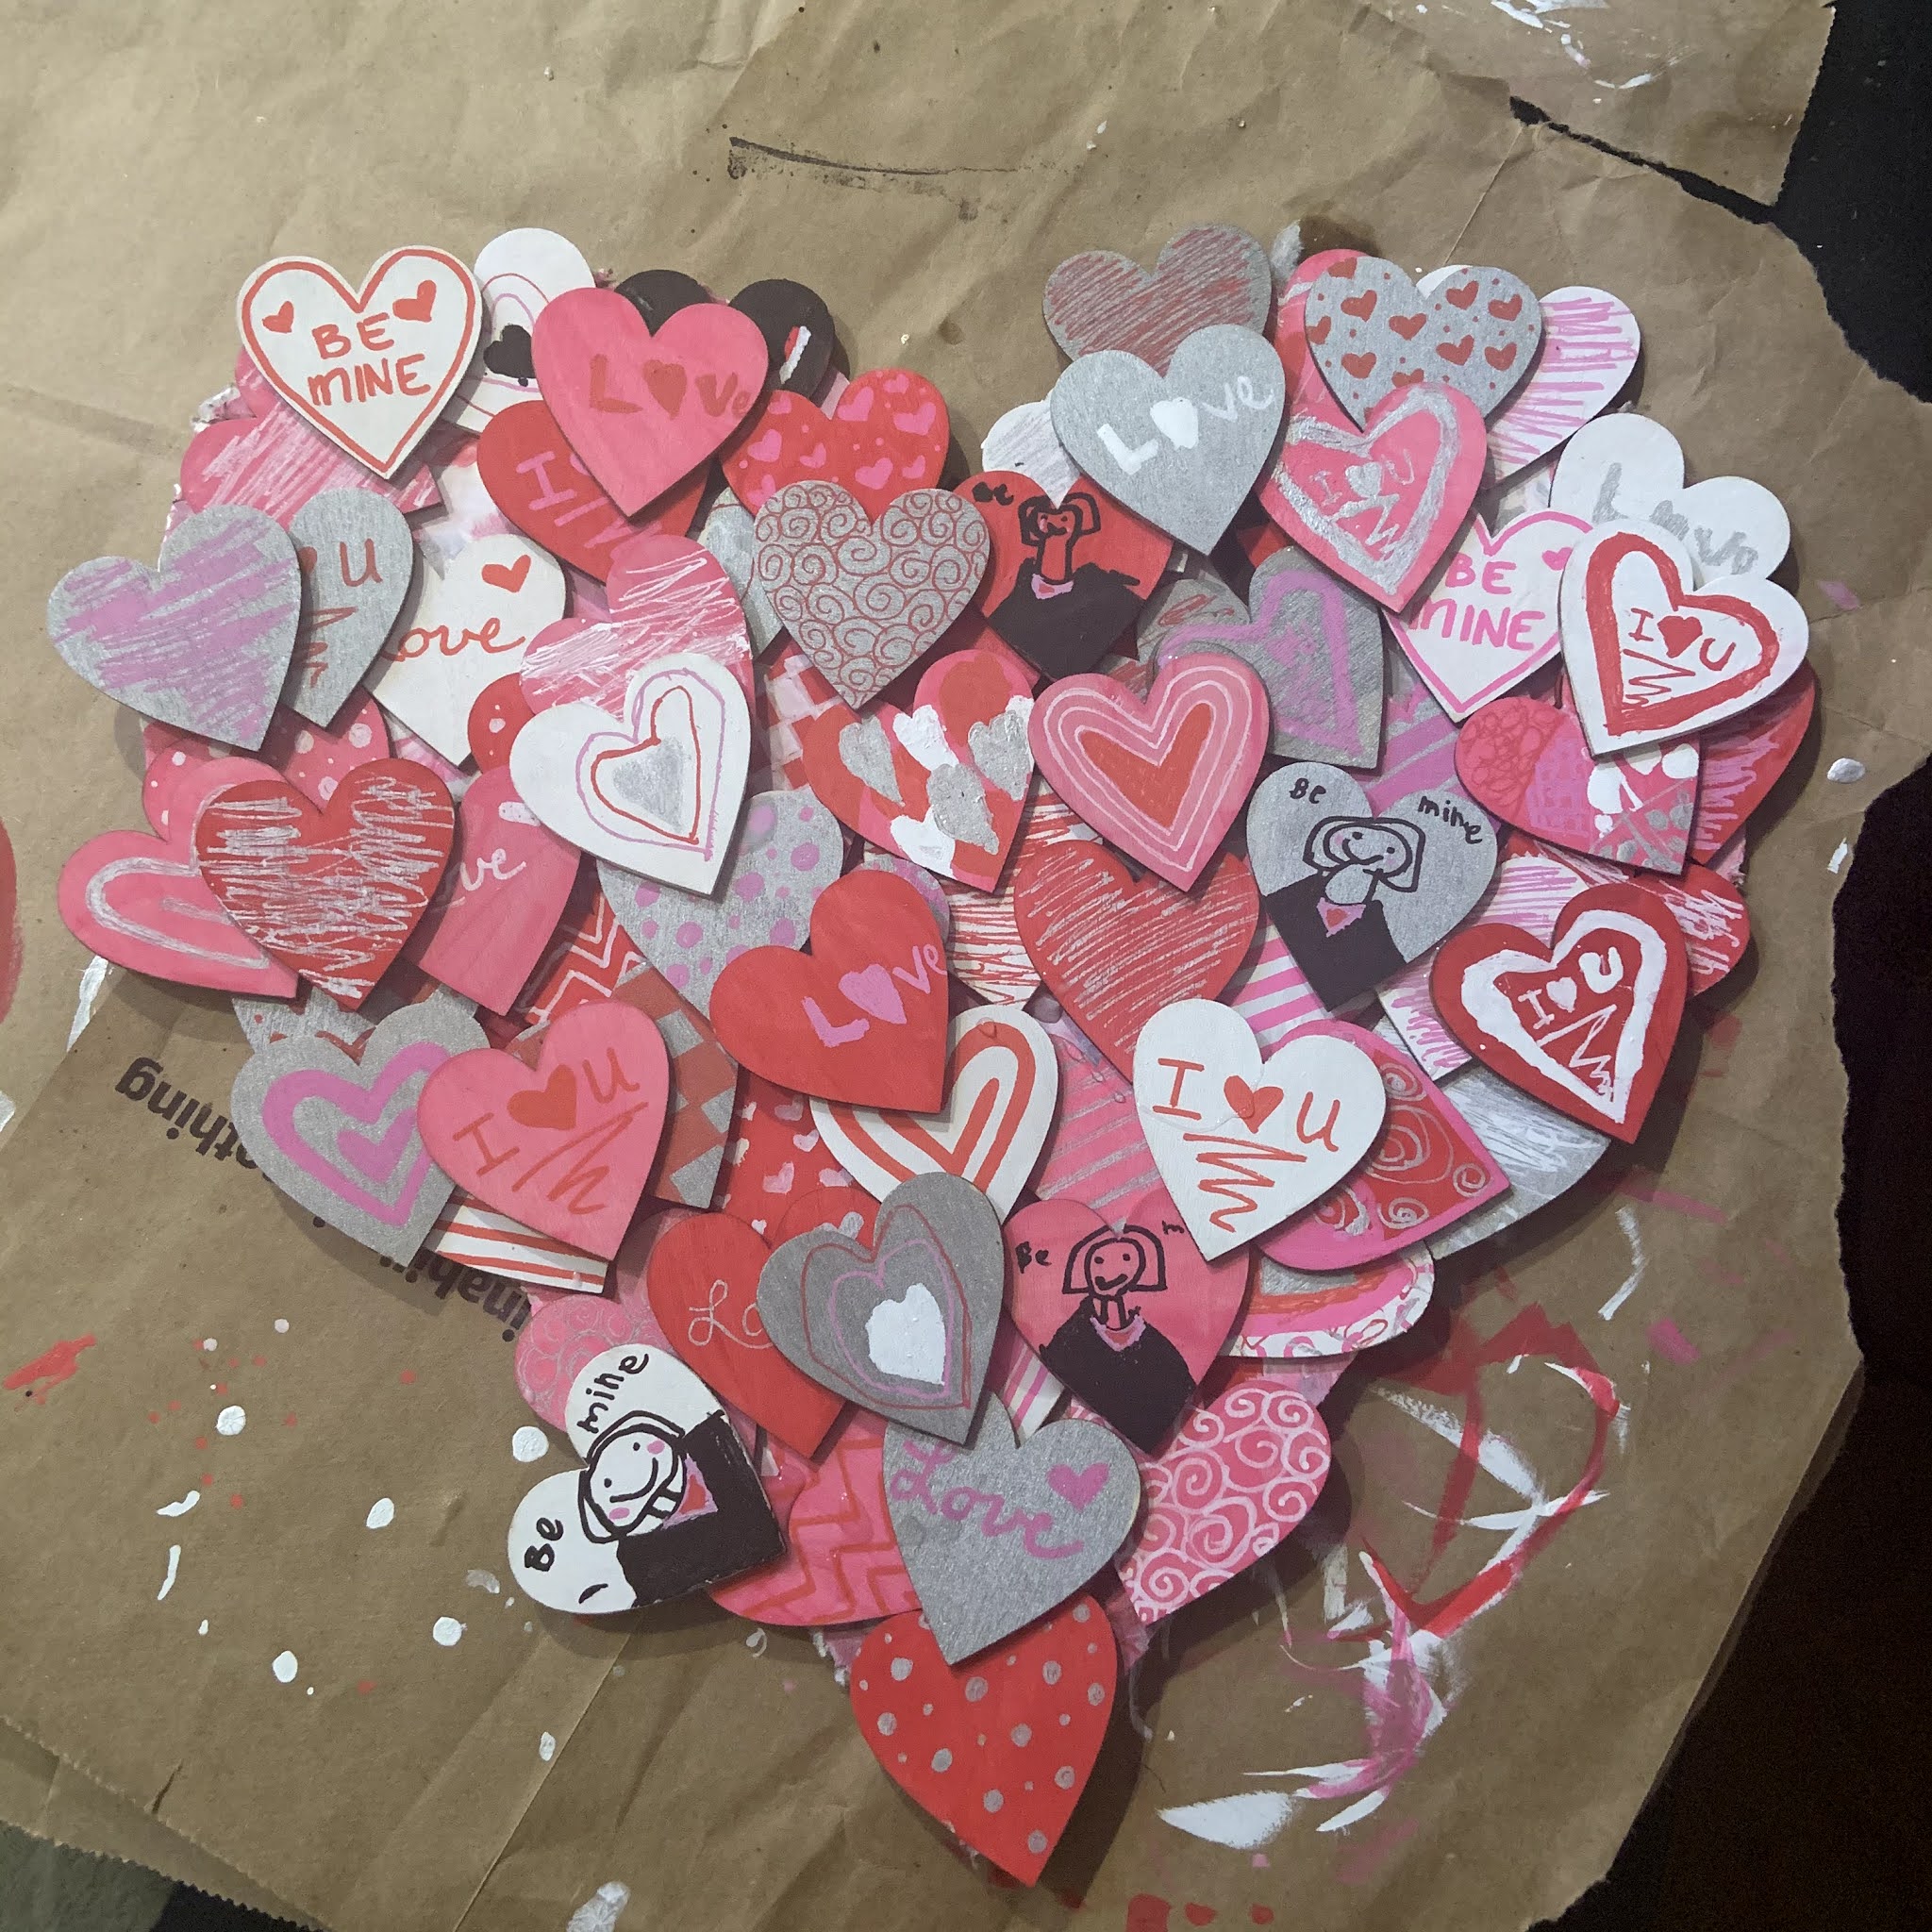
Next, we took the hearts and made all kinds of designs on them!  Again, we did this step with paint pens, but you could just as easily do this step with the craft paint if that's what you have.  Some of them we made to look like conversation candy hearts, others we made with fun designs, and we also added a few with our names on them to personalize it!  Here's some of the decorating process.  


After the hearts were designed and dried, we started to glue them onto the wreath.  We tried to cover as much of the bottom layer as possible, and we let the layers dry a bit in between adding them.  We saved all of our name hearts for the very final layer.  This is the next to last layer: 


Finally, we used some duct tape and ribbon to make a hanger for the wreath.  You could also glue the ribbon to the back of the wreath, but our ribbon was thin and duct tape and knots kept it on the back quite securely.  The final product is hanging here on this door.  

This was a fun project that my daughter and I enjoyed doing together!  It took a few days because of all of the paint drying, but each step went pretty quickly so it was nice to fill some of our daily gaps with an art project.  I hope this inspired you to make something fun and personal with your kids!  Do you have any fun art traditions with your family?  Let me know in the comments below!  

Tuesday, February 2, 2021

2021 Bullet Journal Journey - February

Happy February everyone!  This month, I really had a good time setting up my bullet journal!  I used pinks and purples (super bright and traditional) and tried to have fun with it!  

Here's the first two pages for February.  I know this is a bit busy, but I really like how it turned out!  I wanted the hearts to feel like little bubbles all over the page!  I use the goals page to plan blog entries, track my creative time and healthy choices, and to list overall monthly goals.  

Next, is the calendar spread.  I made this two pages instead of one this month, and I like it much better!  I also have a little spot for notes there in case there's anything large I need to write down.  I also continued my design from last year's journal of adding a strip of abstract watercolor that matches the month's theme.  I really enjoy doing these abstract strips and use the leftovers as bookmarks to keep or gift!  

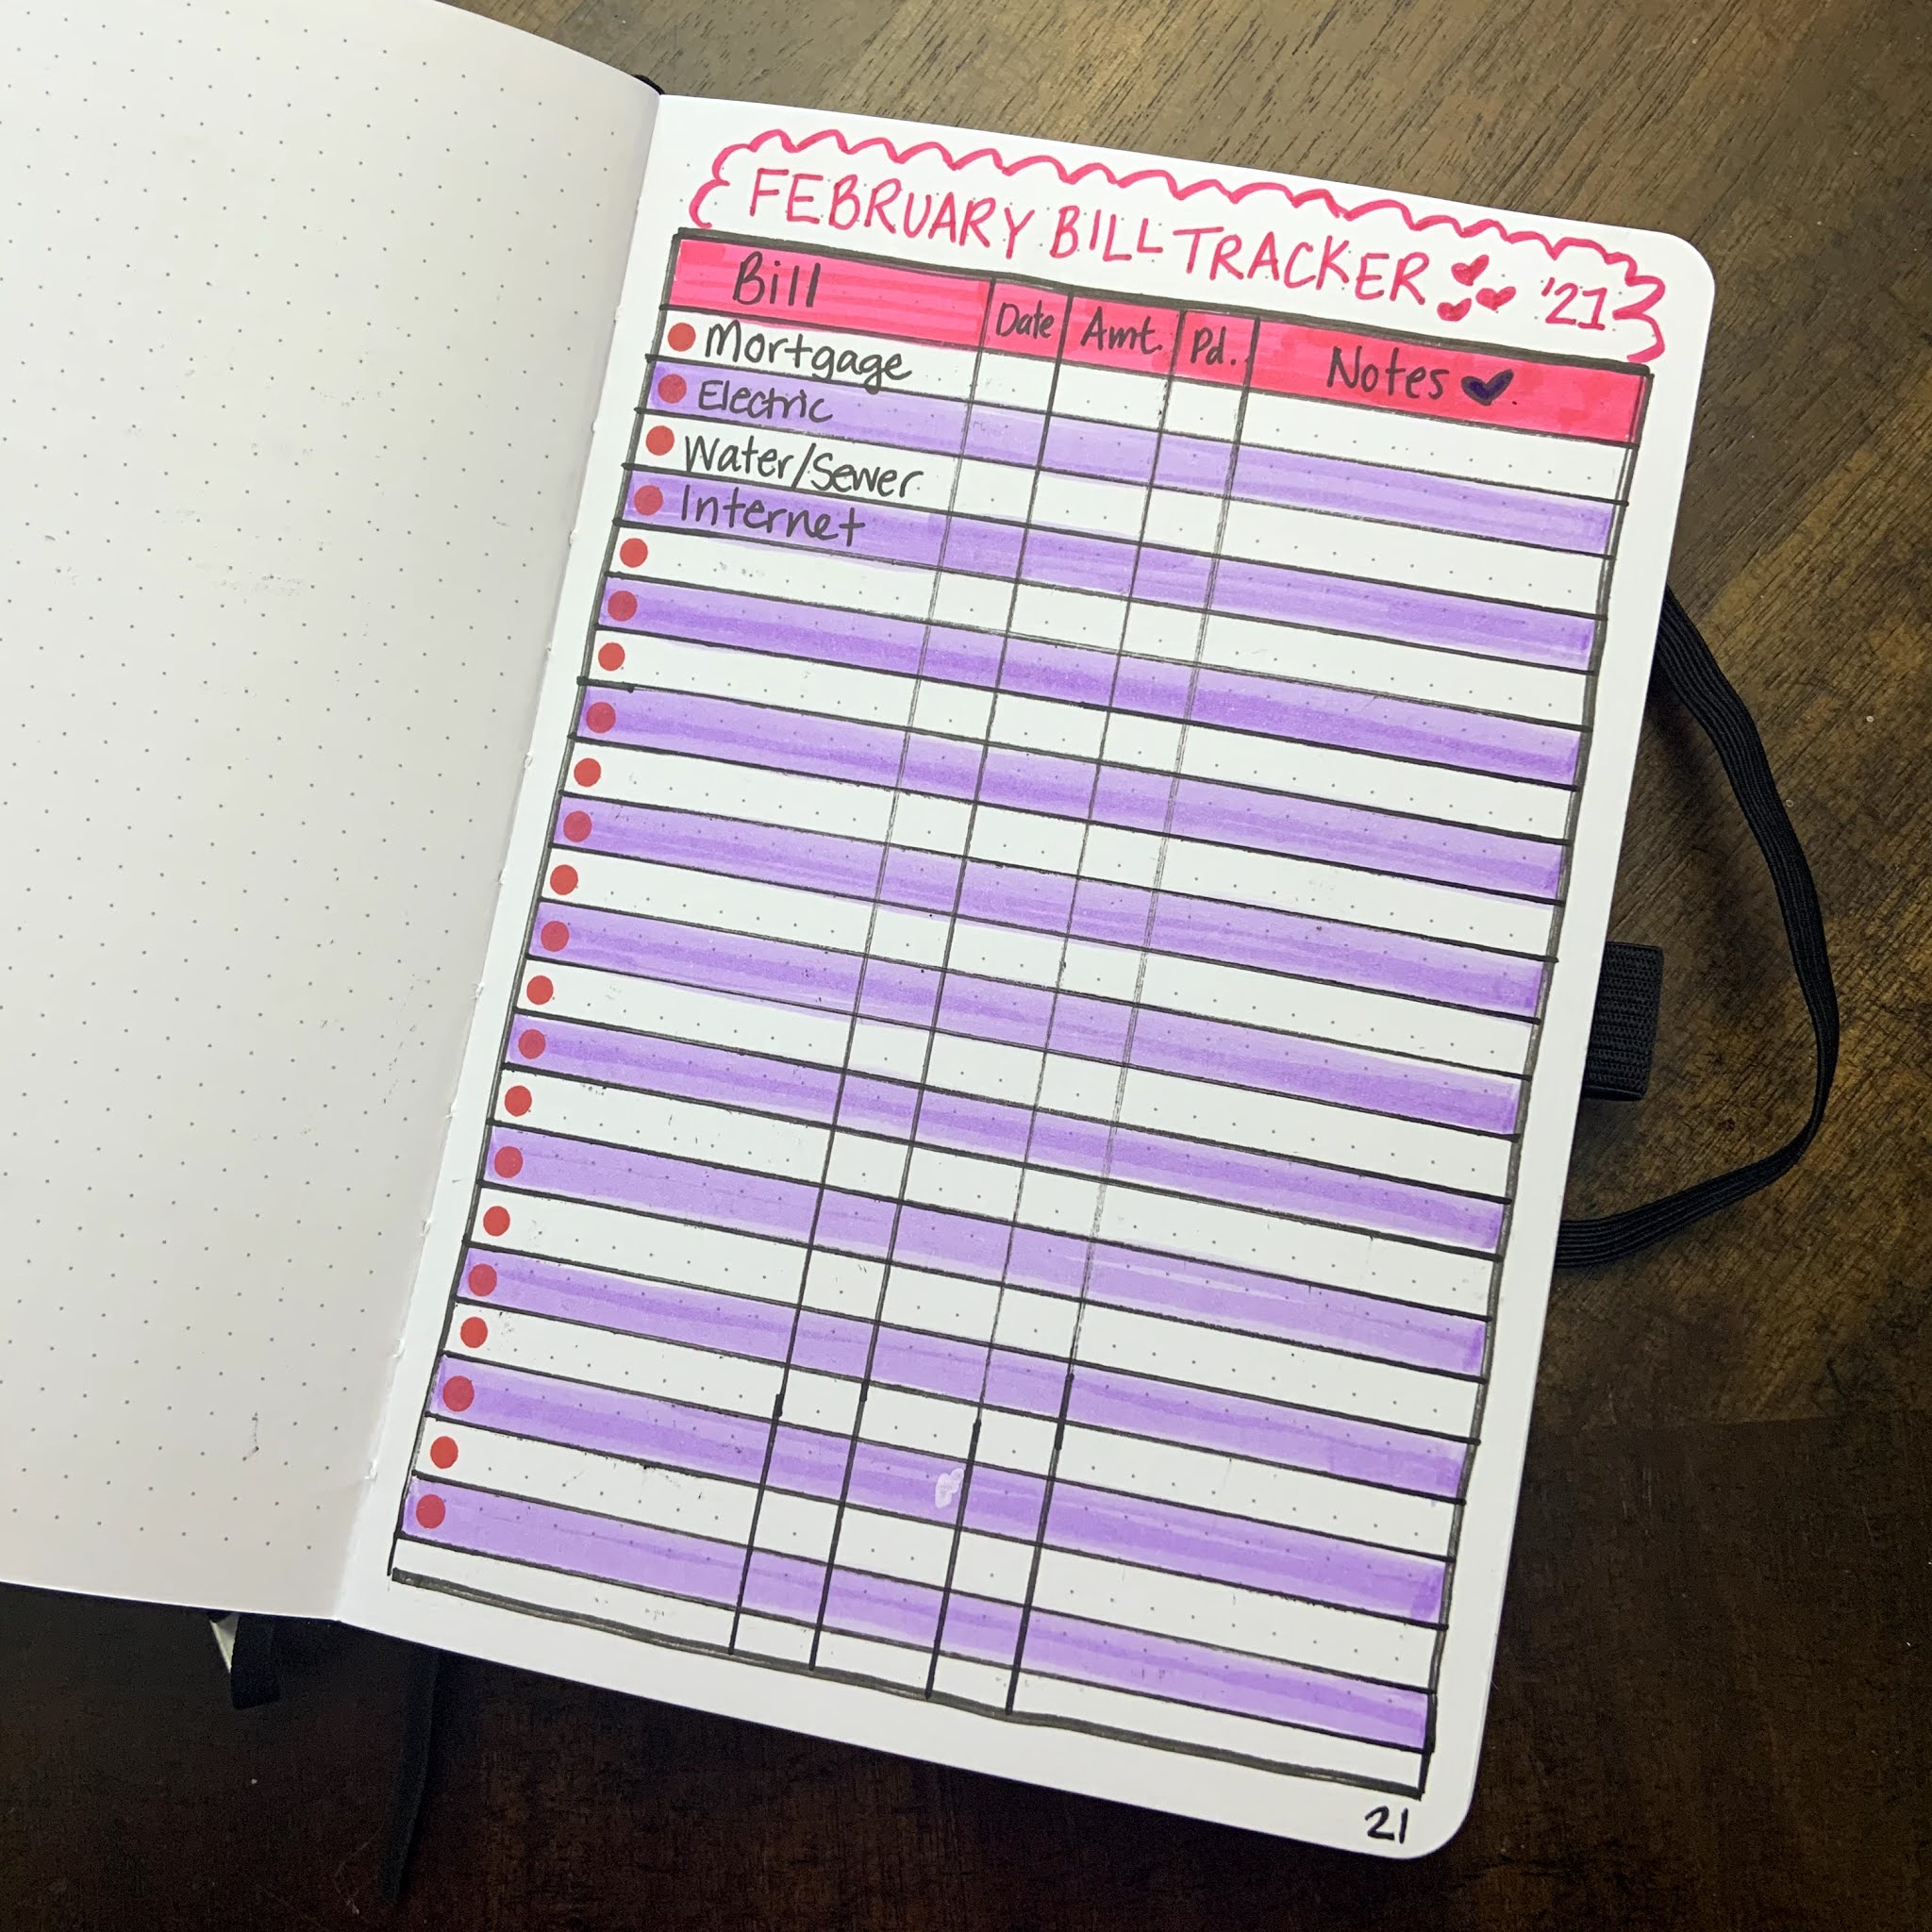
Then, I hand-draw a mood tracker and a bill tracker each month.  Here are pictures of each one!  I really love how the mason jar of hearts turned out for the mood tracker - so cute!  


I have more bills than this - but for privacy's sake I took the picture at this point before I wrote the rest! 

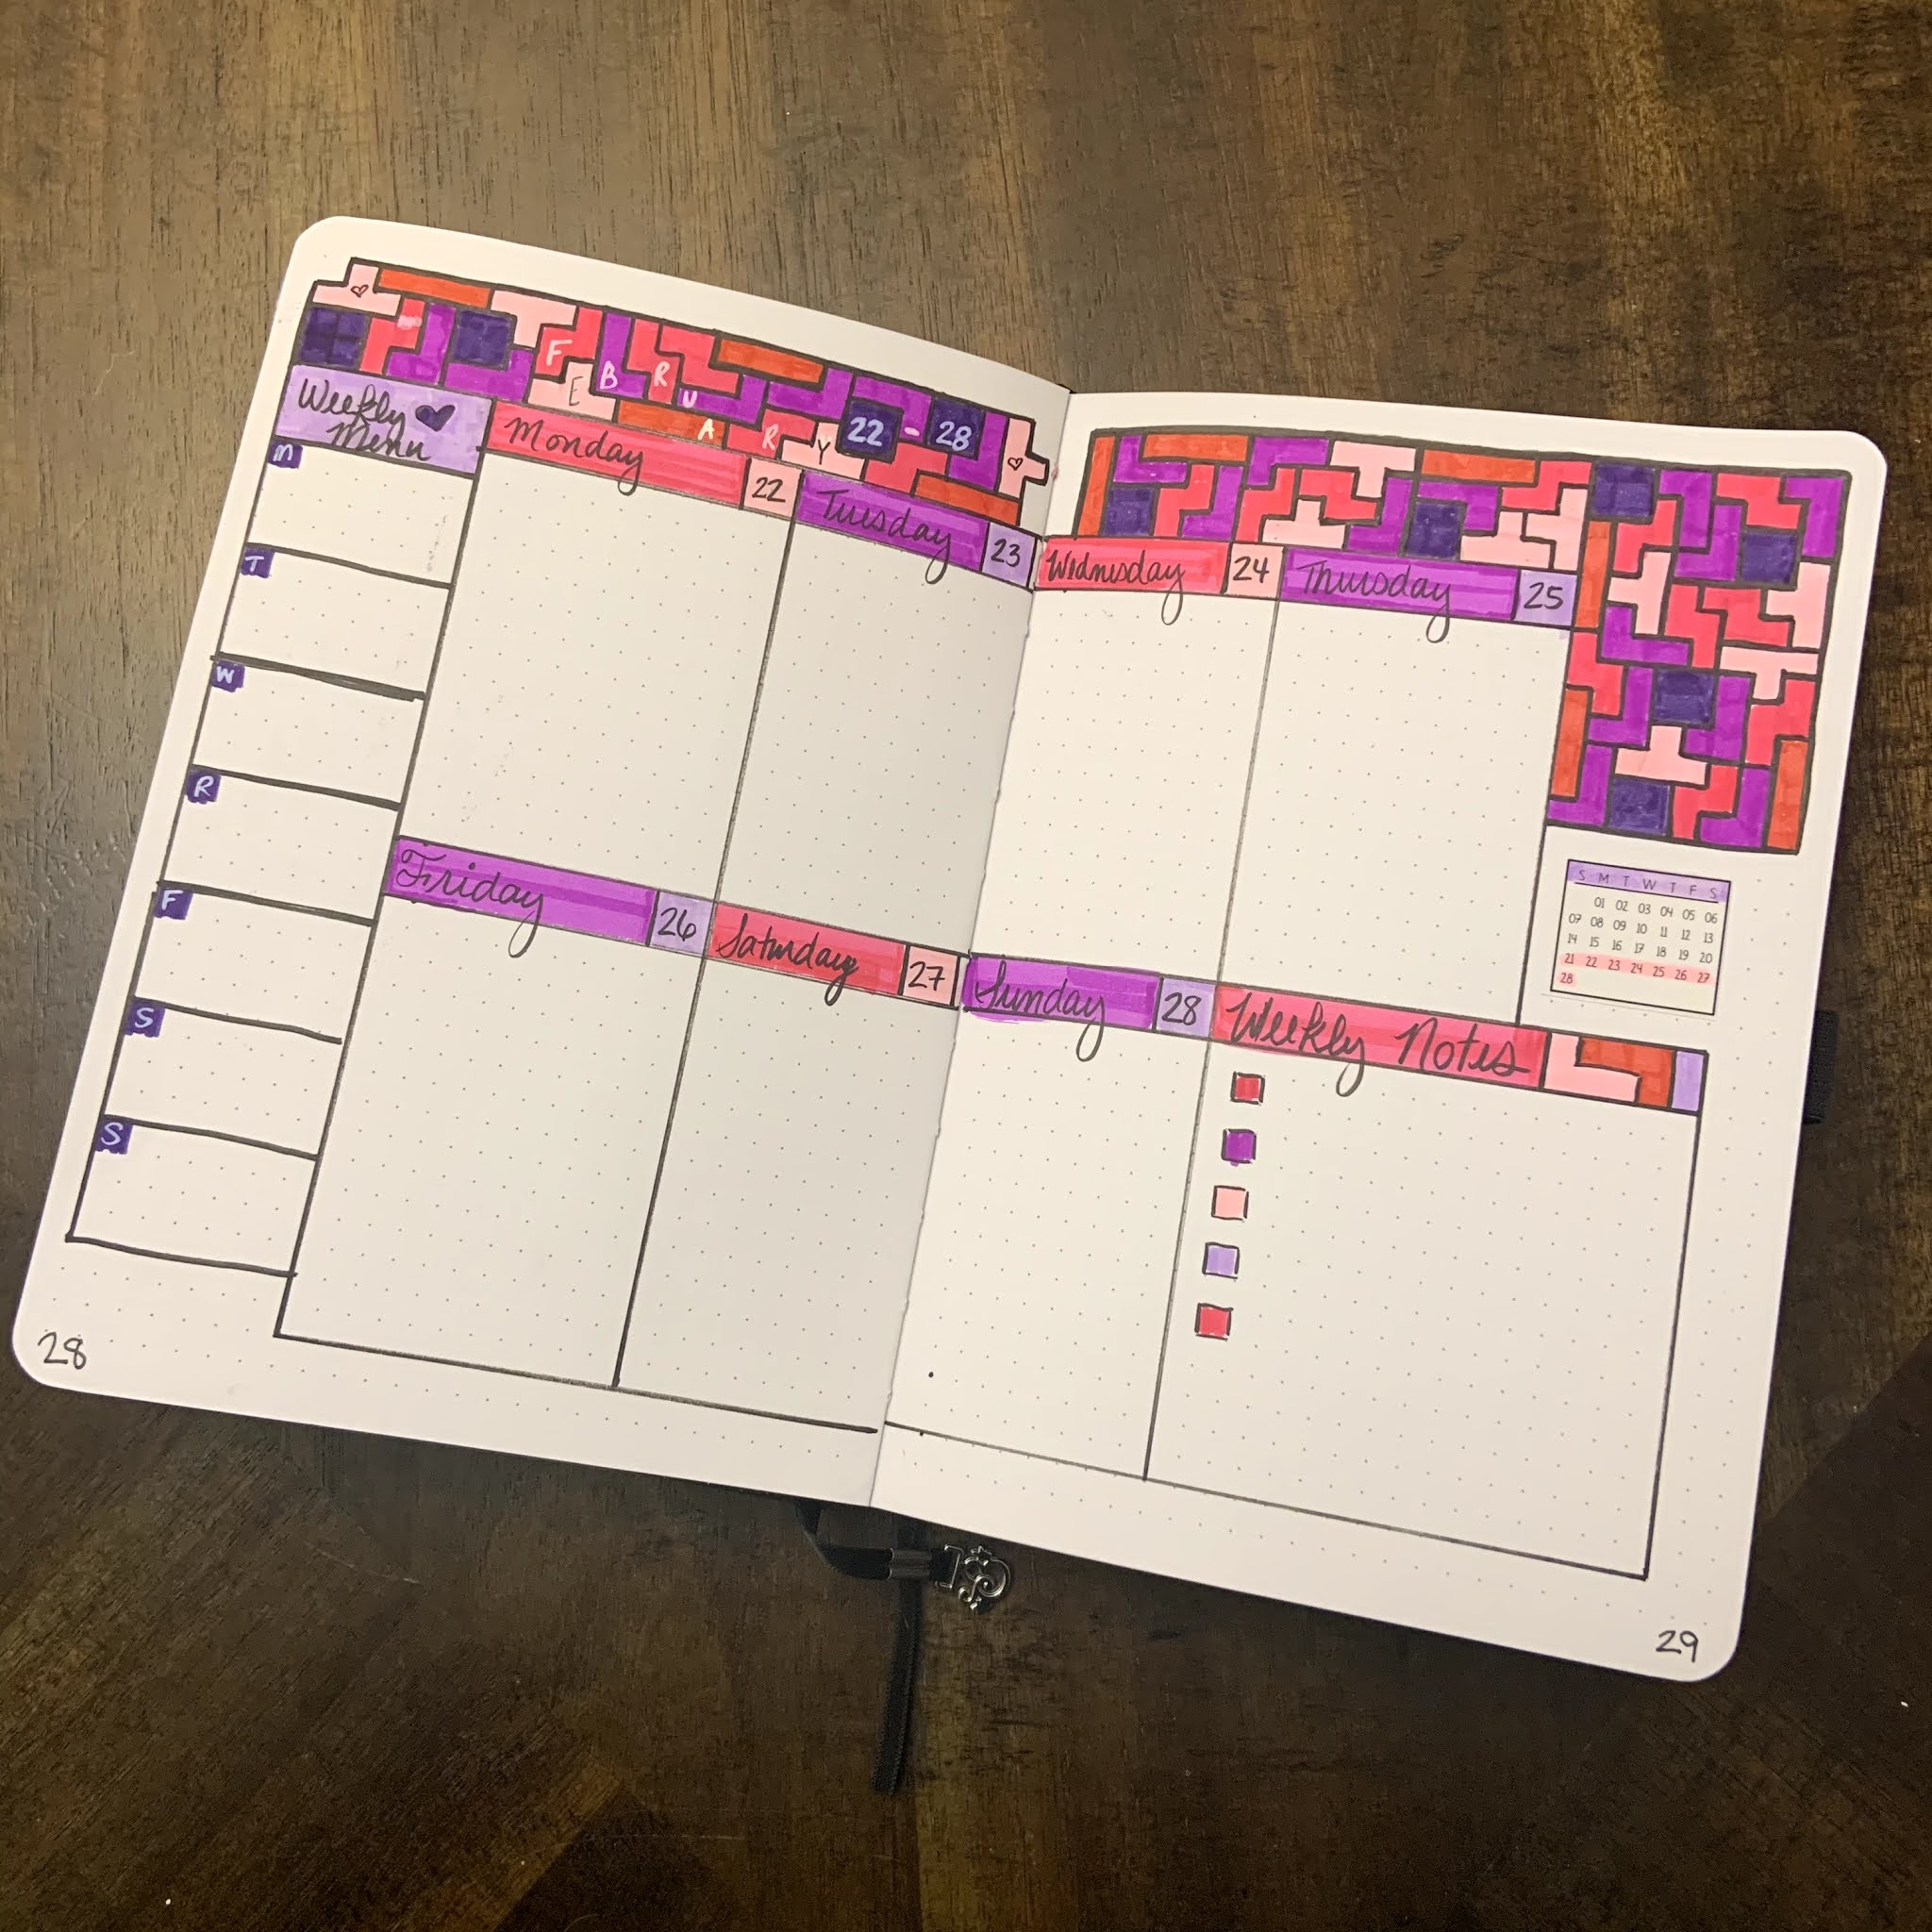
Finally, I'm including my weekly spreads for this month!  I'm not sure I will include these every month, but I really loved how these ones turned out.  I've settled on a weekly spread that I really like right now, it has a box for each day plus a larger one for notes, and a column on the left for our weekly dinner planning. This month, each week had a little theme: 

Wk 1 - Violets (February flower of the month) 


Wk 2 - Watercolor Hearts


Wk 3 - Stripes and Dots
Wk 4 - Tetris

....and that's it!  I hope you guys enjoyed seeing this layout!  Do any of you use a bullet journal? What was your theme of the month for February?  Let me know in the comments!!  

Wednesday, January 27, 2021

Quick and Easy Valentines Part 2!

This past weekend, my lovely daughter and I sat down in our craft room to get inky and make some Valentines!  

I know a lot of people dislike Valentine's Day, but truthfully I've always looked at it as a day share the love with everyone in my life!  I usually make about 20 valentines to send to friends and family. Because of the proximity of Valentine's Day to Christmas, I never want to make anything that is TOO complicated when it comes to these cards!  So these cards are all very similar, small, and clean in design.  

Another note about these projects - everything I'm using here is at least 5 years old!  I love my Valentine's stash and I've been using the same one I stocked YEARS ago - so please feel free to use what you have!!!  I'm really trying to not spend much money this year on paper crafting and to focus on finding love in the products that I have!  


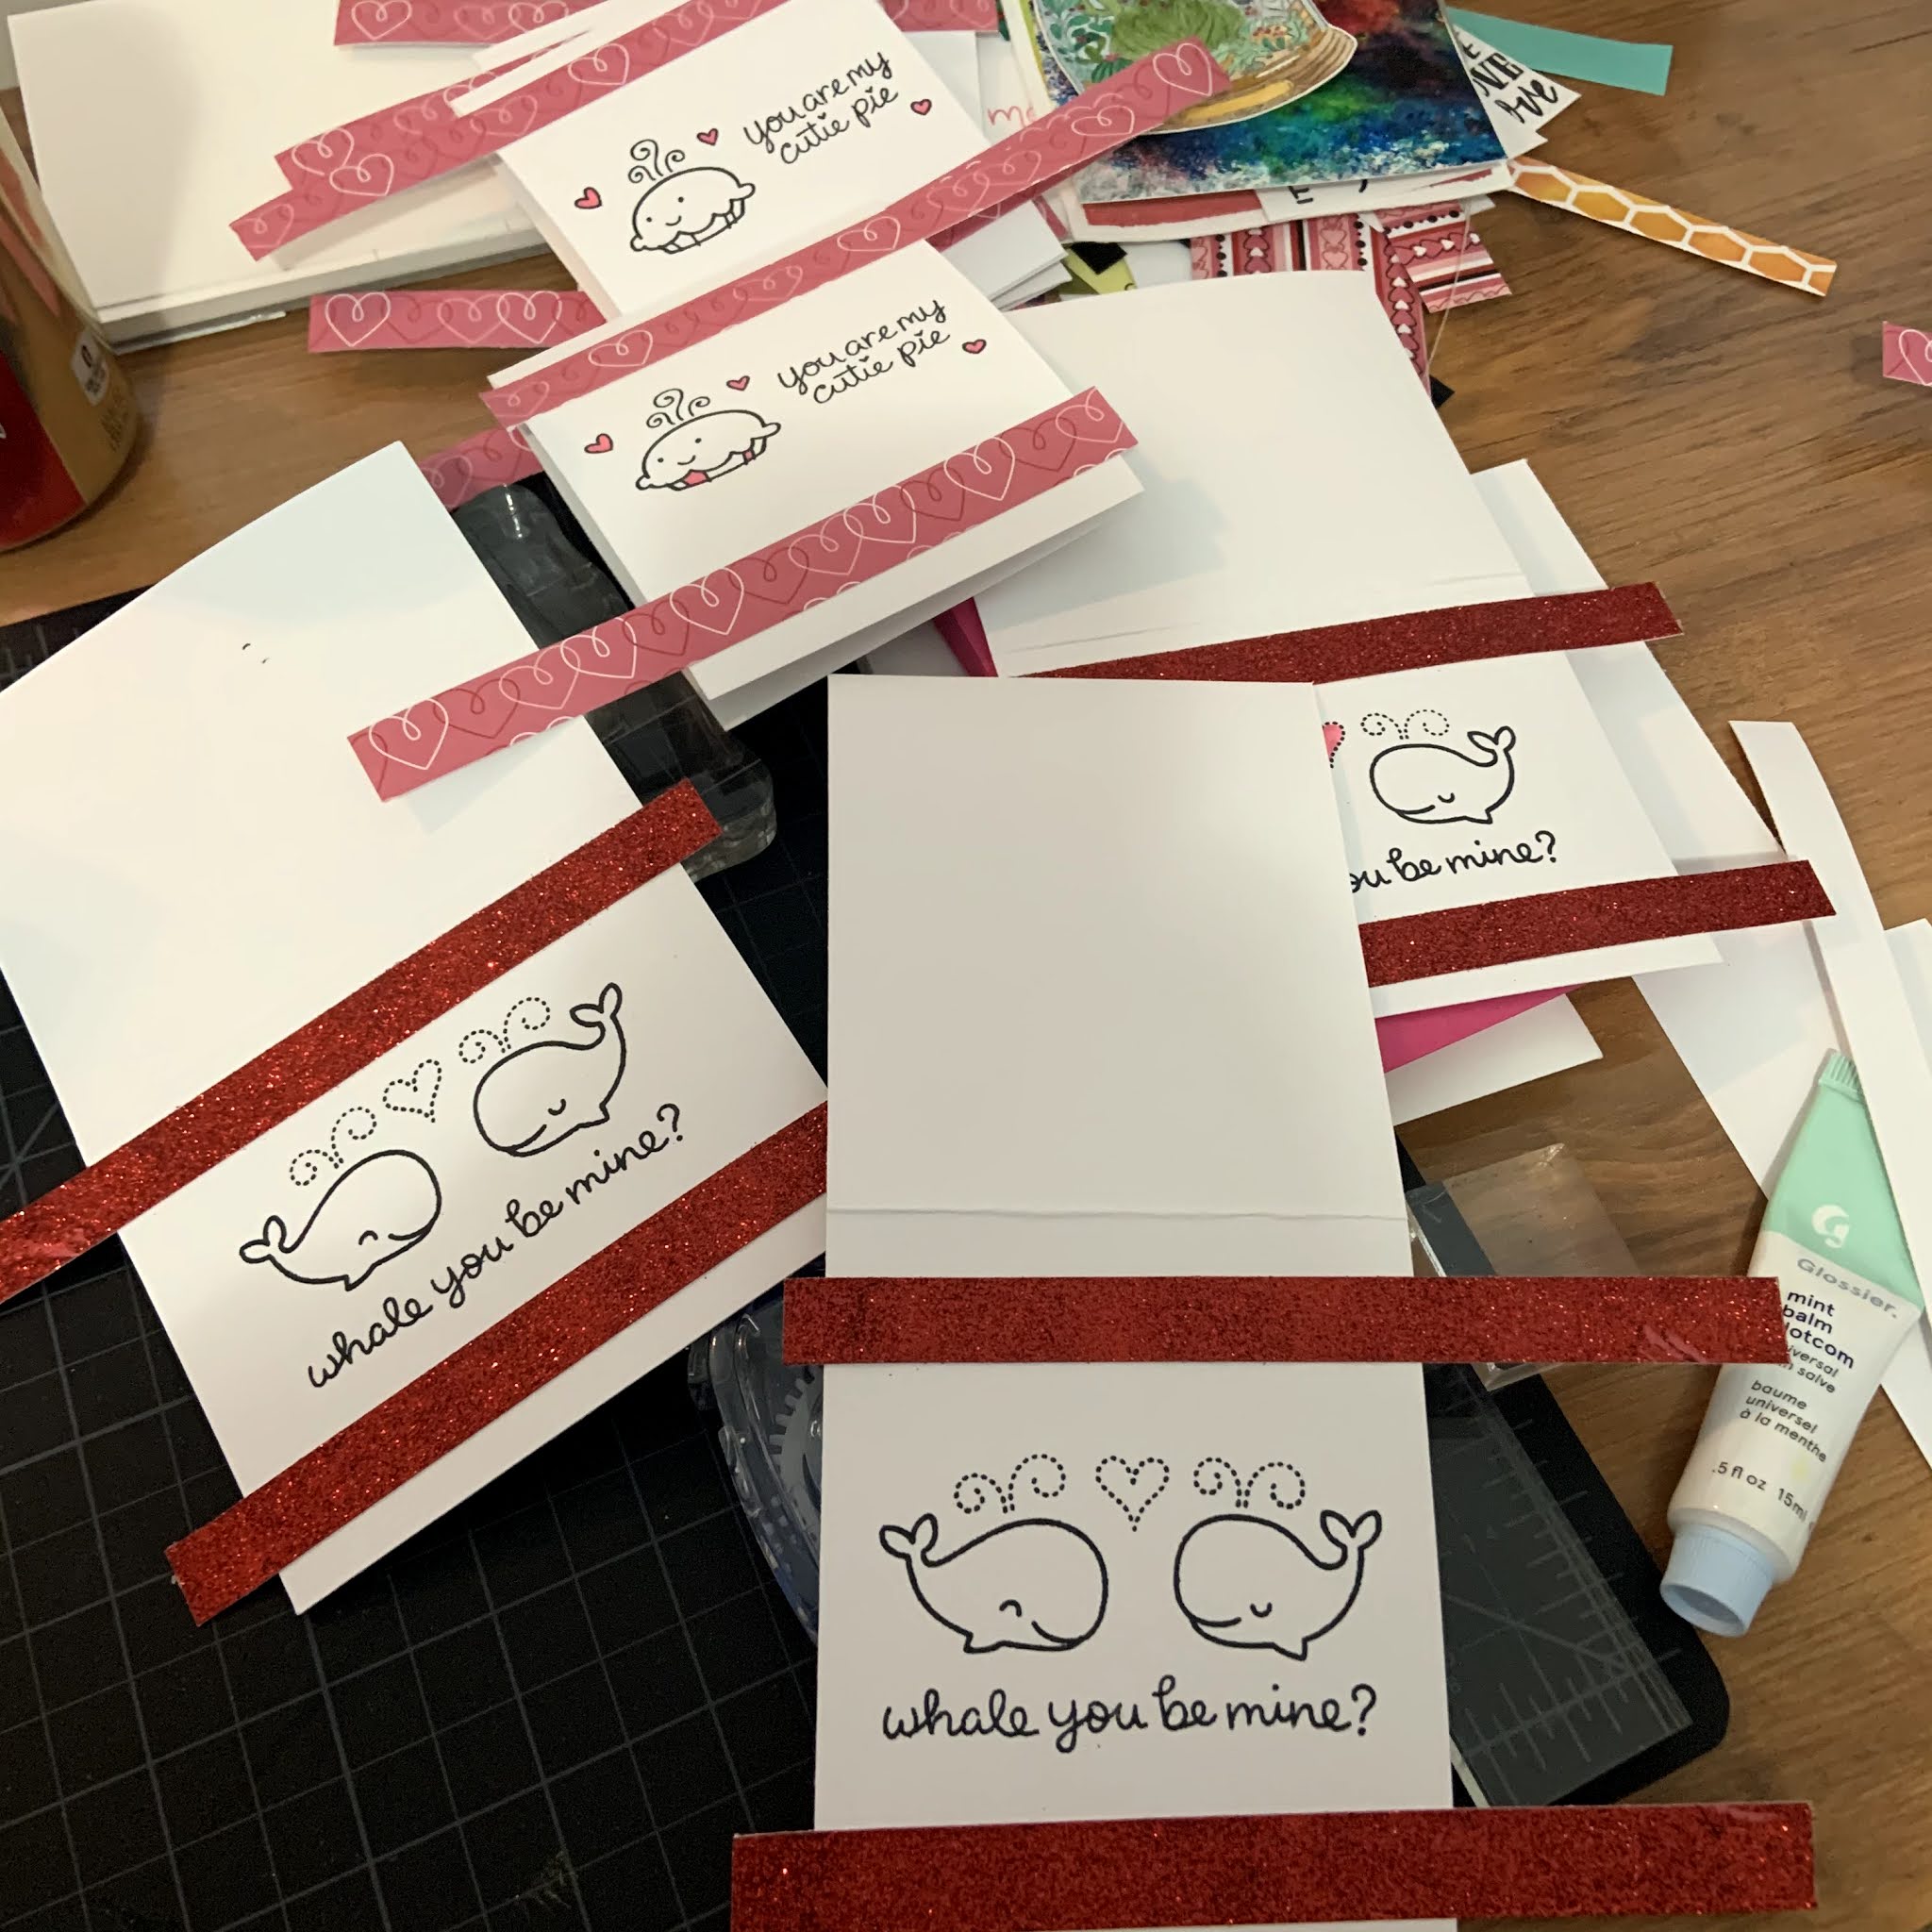
These cards are 4-bar size.  I used two Lawn Fawn sets that I enjoy: My Silly Valentine and Whale You Be Mine?  I stamped the images directly on the card front in Memento black ink, and then colored in the images with my alcohol markers.  I cut simple strips of patterned paper and glitter paper from my stash and glued them to the front and trimmed them to fit.   


Next, I cropped the bottom edges of each card with my Corner Chomper.  I like the look of that on a smaller card, it feels like a nice little finished detail with very little effort.  I stamped a sentiment on the inside of each card and also glued a piece of patterned paper on the top to hide the bleed through from the alcohol markers.  

In about 90 minutes I was able to finish 8 cards!  I already have a few others in my stash from other card making days, so I'm about halfway through making my Valentine cards now!  


Are you guys making Valentines this year?  What are your favorite Valentine stamps?  Leave me your favorites in the comments below!