What's up everyone! So as Valentine's Day is *rapidly* approaching (checks status of Valentine gifts.... realizes she needs to send them NOW...), I wanted to share a fun, easy DIY project that my daughter and I did together. We made a Valentine's Wreath out of wooden heart pieces and cardboard!
Supplies for the Wreath:
- Wooden Hearts we used these from Amazon, $13.99. We used about 2/3 of the hearts for our wreath.
- Red, Pink, White and Silver Craft Paint $3.20 ($0.79 each at Michaels)
- Washable School Glue - $0.85 at Target, but we already had glue
- Paint Brushes - you can get a whole set of these for about $1 lots of places
- A Large Cardboard Box
- Craft Knife or Scissors
- Ribbon
Optional: Paint or Posca Pens for decorating. You could just as easily decorate these with the craft paints from above, but we used paint pens.
Total Cost: $19.09 (or less depending on what you already have at home)
We started by painting about 80 of the wooden hearts solid colors (20 of each). We let these dry overnight.

I then cut a heart out of an old cardboard box. The dimensions ended up being about (enter dimensions here). Then, we splotched paint all over the heart so that the background wouldn't just be blank cardboard. You *could* use wood for this step, but we are keeping our wreath inside in a temperature controlled part of the house, so we just used some leftover corrugated cardboard.

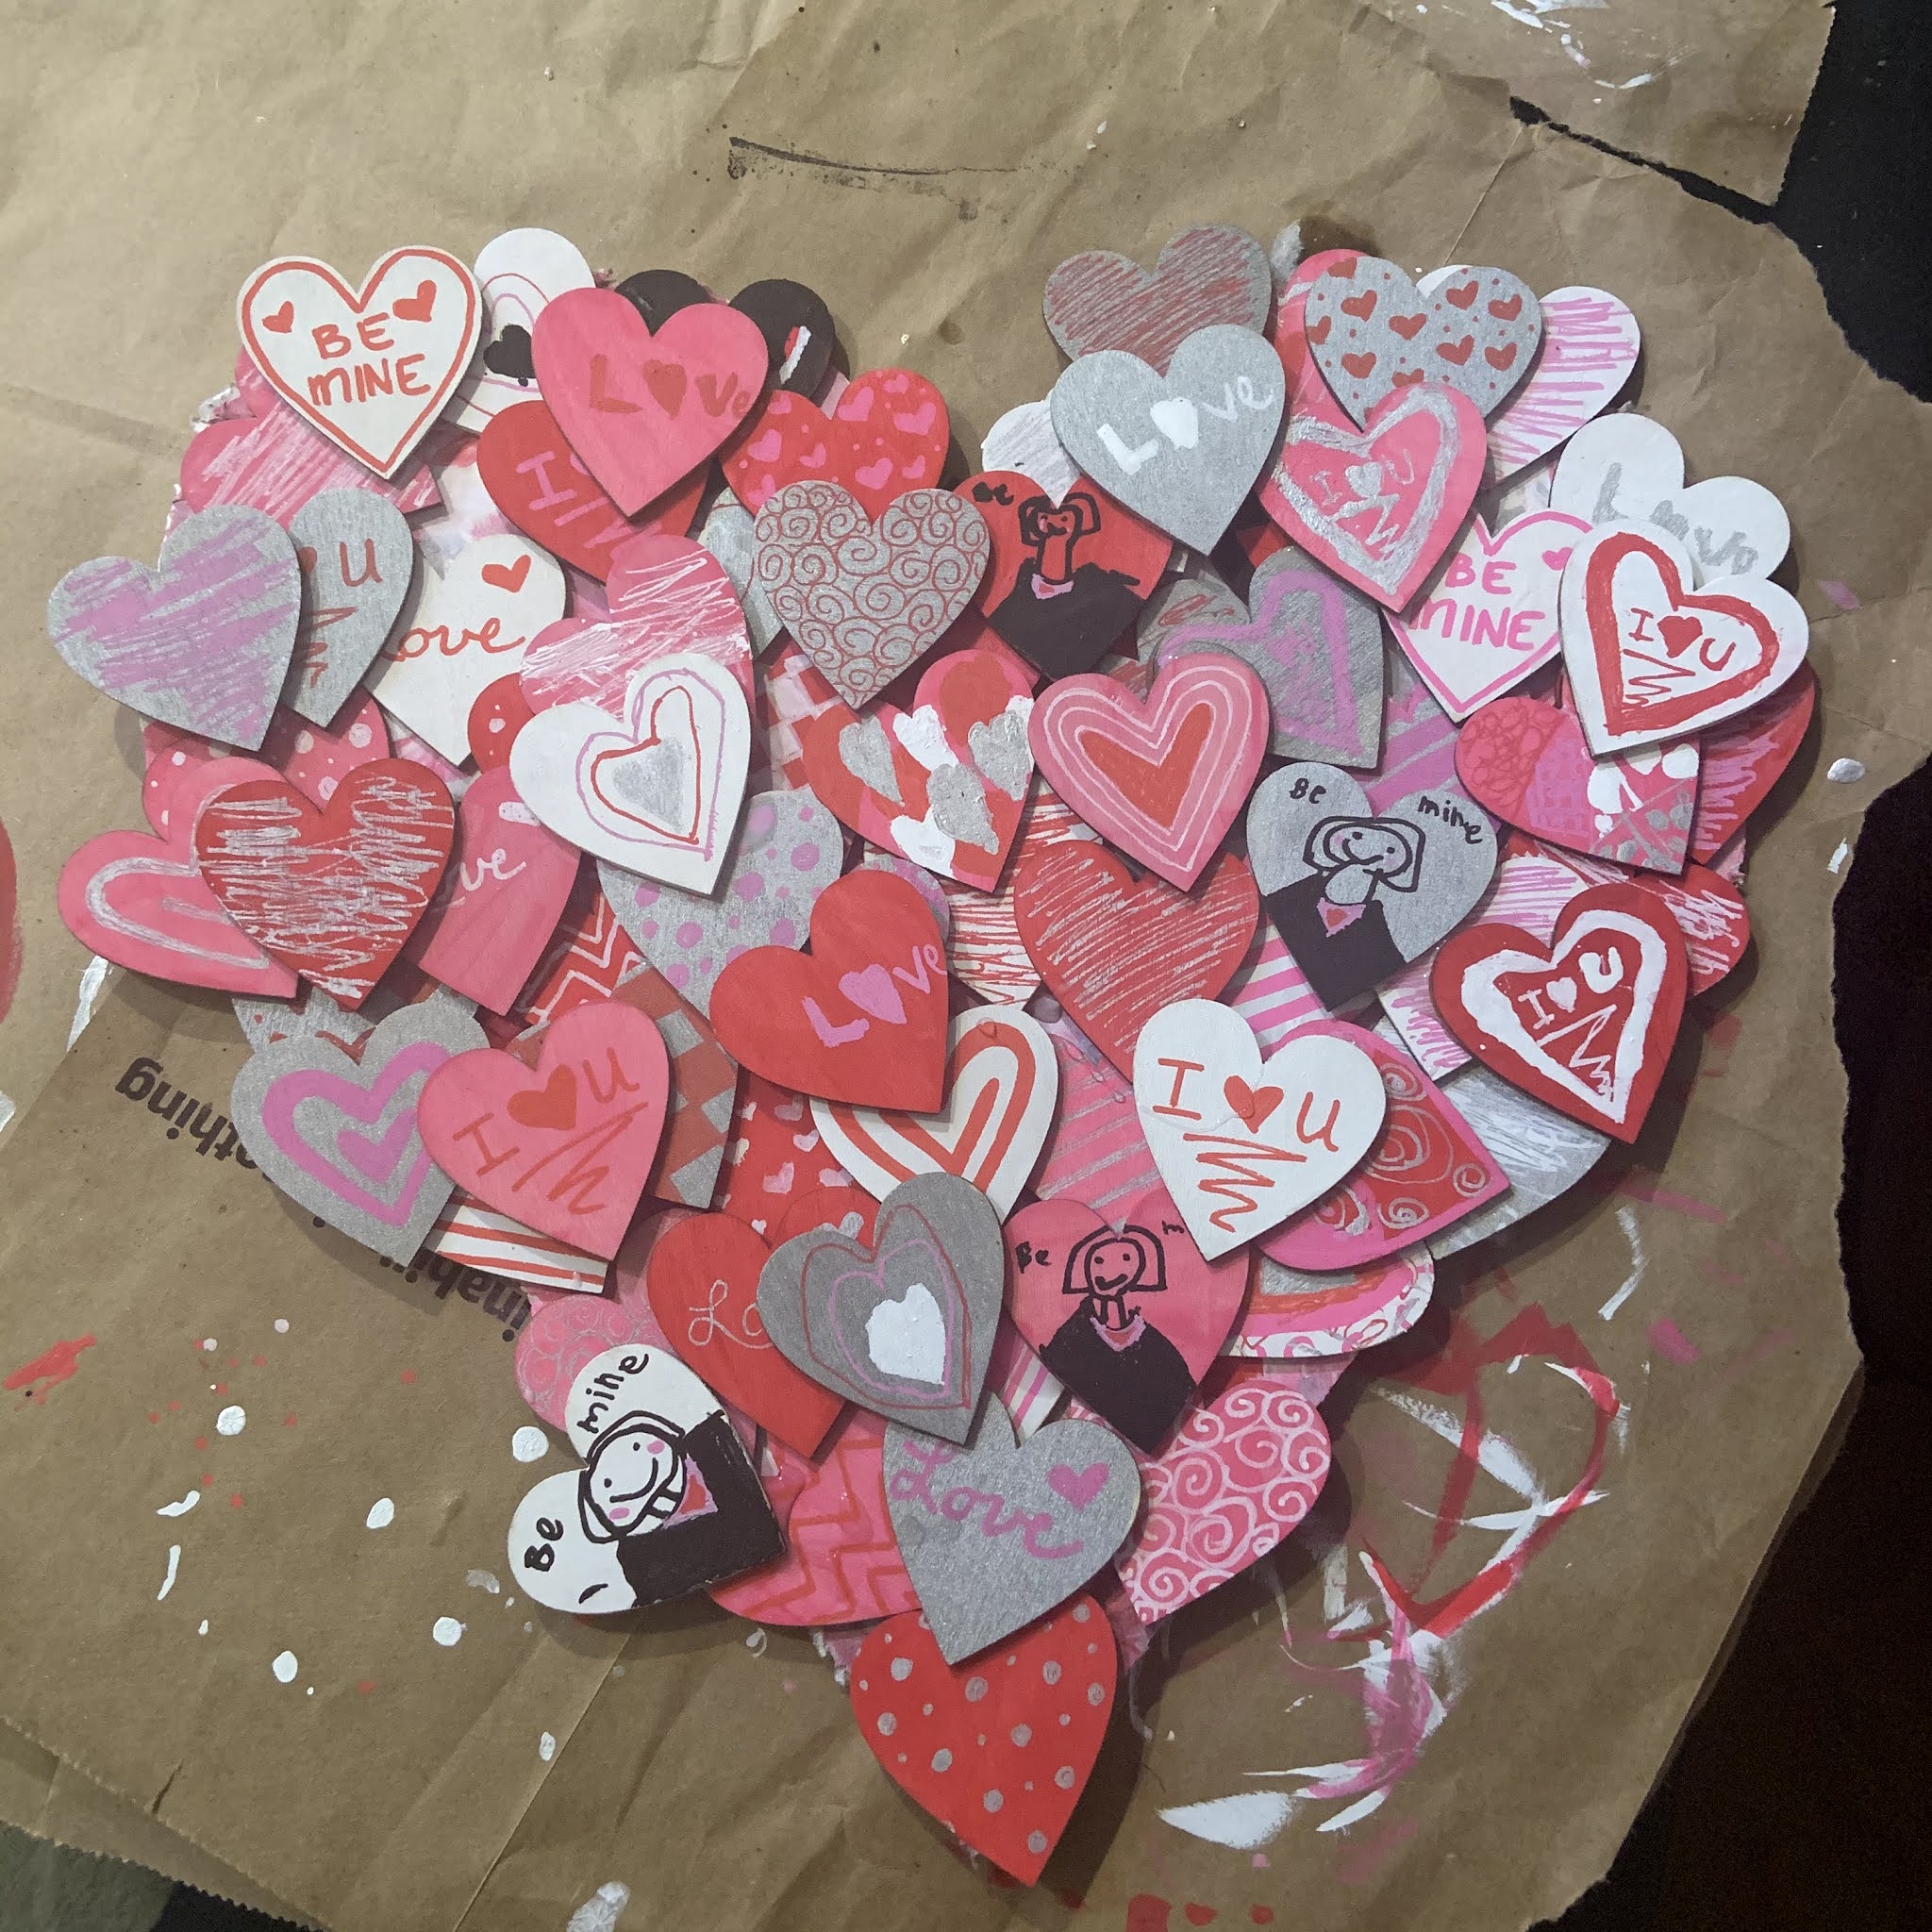
Next, we took the hearts and made all kinds of designs on them! Again, we did this step with paint pens, but you could just as easily do this step with the craft paint if that's what you have. Some of them we made to look like conversation candy hearts, others we made with fun designs, and we also added a few with our names on them to personalize it! Here's some of the decorating process.


After the hearts were designed and dried, we started to glue them onto the wreath. We tried to cover as much of the bottom layer as possible, and we let the layers dry a bit in between adding them. We saved all of our name hearts for the very final layer. This is the next to last layer:
Finally, we used some duct tape and ribbon to make a hanger for the wreath. You could also glue the ribbon to the back of the wreath, but our ribbon was thin and duct tape and knots kept it on the back quite securely. The final product is hanging here on this door.

This was a fun project that my daughter and I enjoyed doing together! It took a few days because of all of the paint drying, but each step went pretty quickly so it was nice to fill some of our daily gaps with an art project. I hope this inspired you to make something fun and personal with your kids! Do you have any fun art traditions with your family? Let me know in the comments below!
No comments:
Post a Comment