Showing posts with label card making. Show all posts

Saturday, March 27, 2021

March Card Roundup

 This month, we have several family birthdays!  I made 3 birthday cards this month that were a lot of fun, and very different!  Again, I am continuing my goal of not spending any money on new card supplies this year, so everything here was made with supplies that I have had since 2020 or earlier.  

I love the colors on this card!  The sentiment and the bottom strip were made last year using my Ken Oliver watercolor powders, pearlescent powder, and watercolor paper.  I die cut a bunch of stuff out of those papers when I made them and tucked it into a basket for future use.  I love grabbing those pieces and making cards based around them!  I matched it with this beautiful purple glitter paper from DCWV and a blue cardstock from Stampin Up.  I added black jewels and 33 in thickers to finish off the card.  
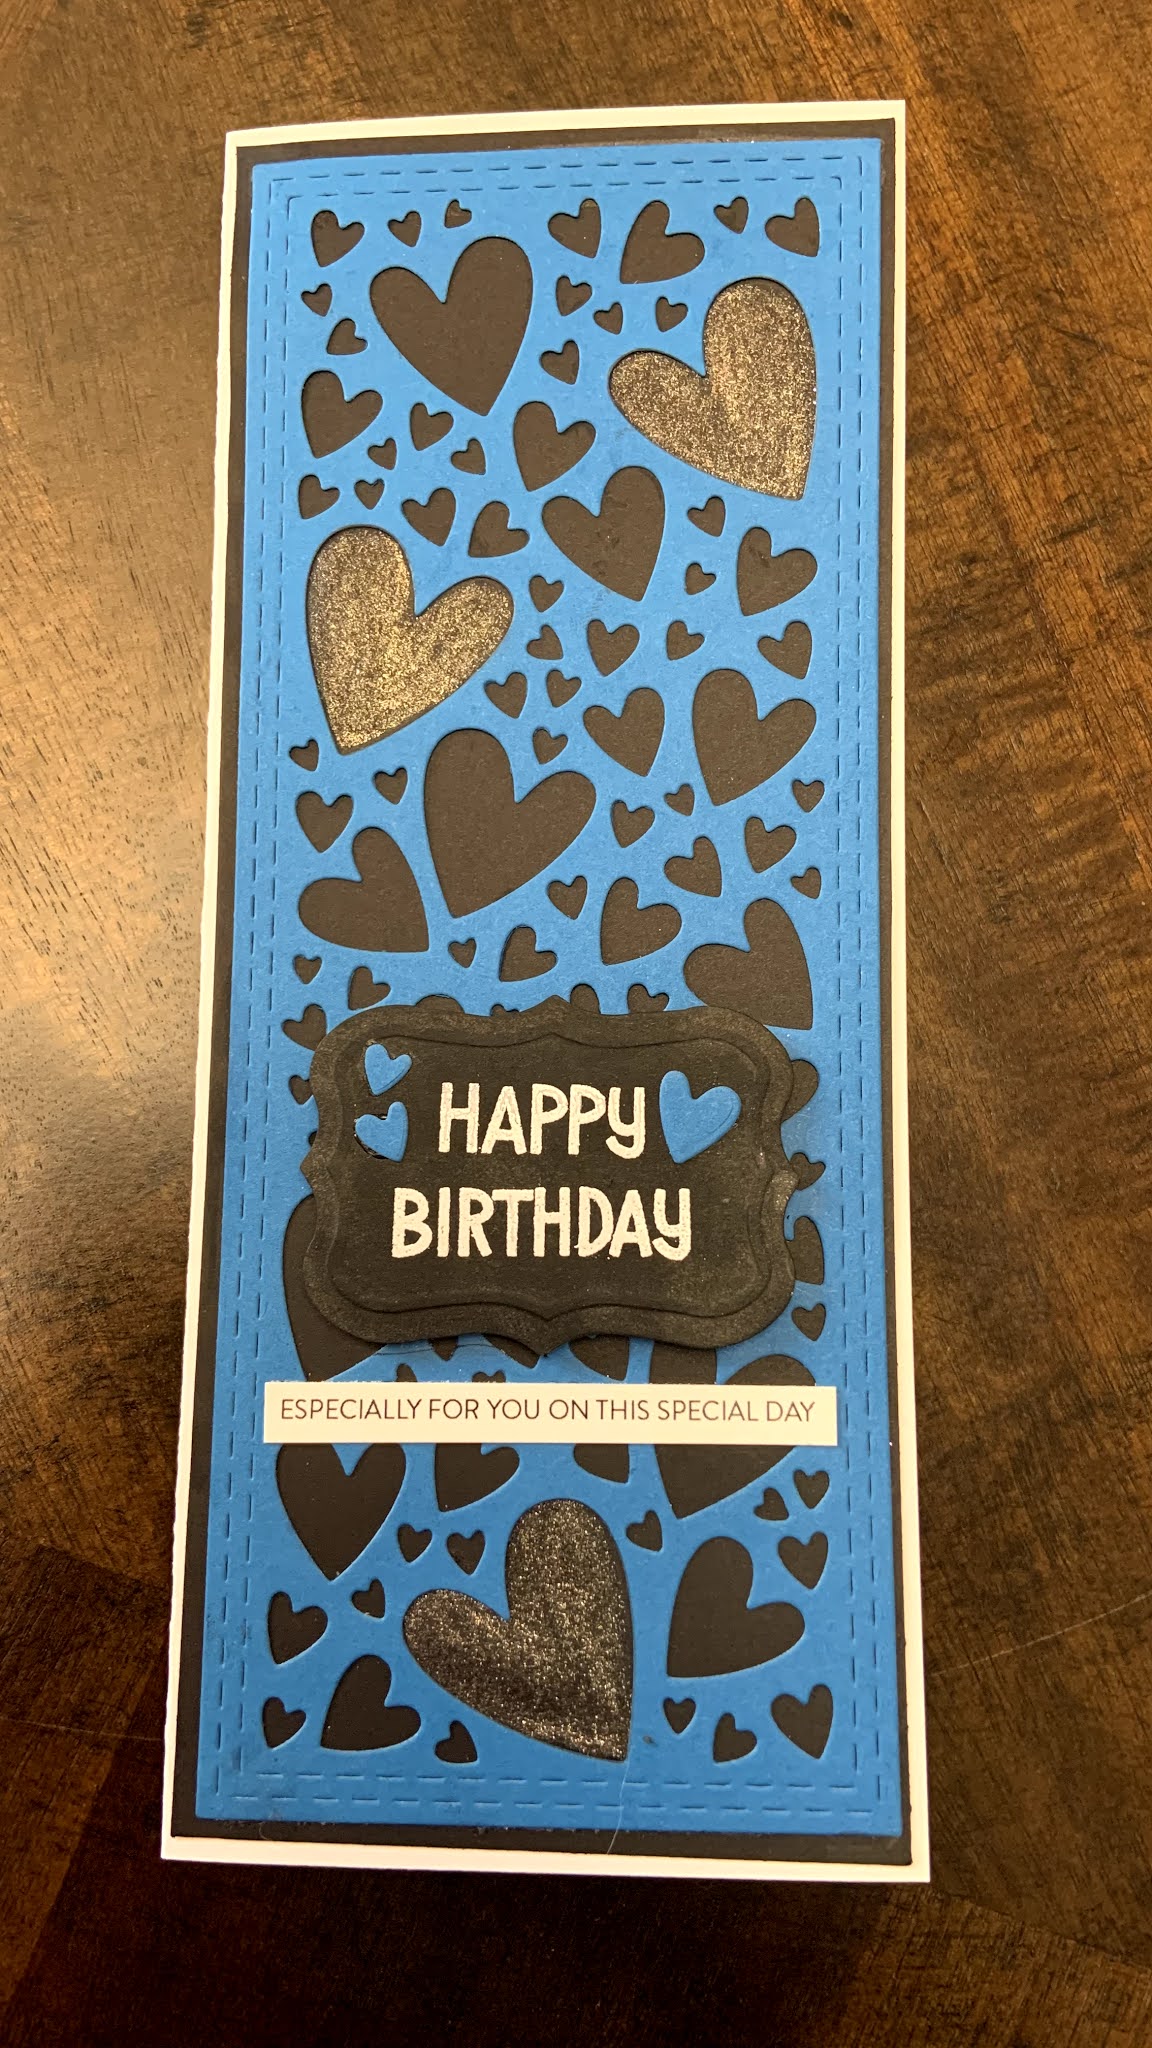

Isn't this die cut background so pretty?  And it gives you a bunch of really pretty smaller hearts to use as embellishments!  I colored in the biggest hearts with a Wink of Stella pen, and used a Lawn Fawn birthday sentiment to emboss the sentiment on a tag I had.  The smaller sentiment came from a set of sentiment strips I bought from Simon Says Stamp last year.  Slimline cards are a fun, different shape that mails very well and adds interest to the card.  

Finally, this card is a clean and simple design that's perfect for anyone!  This stamp from Waffle Flower is big and bold and one of my favorites.  This is an old patterned paper I found in my stash, and I added washi tape and buttons as clean embellishments.  The kraft on black looks so nice in my opinion.  

These are three different birthday designs that you could easily do with your own stamps or supplies!  The first one could be done with inks or watercolors of any kind, and could be made with any type of die cut sentiment.  The second card showcases a fun die cut, but could also be done with patterned paper as well if that's what you have!  The third one highlights a big and bold sentiment stamp with clean, simple details.  I hope that these cards give you some inspiration to pick up your own papercrafting supplies and send something! 

Tuesday, March 23, 2021

Metallic Pen Roundup and Review

Hello hello!  Over the winter, I randomly acquired several different brands of metallic pens.  I started with some metallic pens in the 2020 Holiday Sketchbox, and in a set of acrylic paint pens I bought for my daughter.  Then, I picked up a cheap set on Ali Express and Zulily.  Finally, in preparation for this blog I purchased two more budget brands, one on Amazon and one at Dollar Tree.  This ALL started because I noticed that my expensive set of metallic pens seemed to look a lot less shiny than my other, cheaper sets.  Therefore, I set out to see which ones were worth the money! 

I did a full test on black paper, which is the main place I would use metallic pens.  

I did NOT consider the following things: 

  • Ability to work on non-paper mediums
  • Longevity of use - I didn't consider this because most of the time, metallic pens don't last a long time.  I'm lucky if I can get 1-2 years of use out of them, regardless of their price.  Because of this, I didn't buy copies to try to run them dry.  
  • Nib size - A lot of these pens had nibs that were similar in size but not exactly the same.  I did not feel it necessary to buy new ones in matching nib sizes, and also did not count that for or against any of the pens.  I *did* note if you could only get the pen in one nib size because that does seem important!  
Here are the things that I DID judge each one on:  
  • Price, both total price and per pen price.  I also considered if you could buy the metallics separately from larger sets of markers as that can also not be cost effective. 
  • Pigmentation
  • Shininess once dried
  • For the gold specifically, the ability to look gold and not "silver gold."  Some metallic pens have a lot more silver in them than their actual pigment color. 
  • Accessibility for me.  This won't be the same for everyone, but should be pretty similar for most in the United States at least.  
Ok so without further ado, here's my swatch AND my thoughts on each pen set.  The list is in the swatch order, I will discuss favorites/least favorites at the end of the blog.  


1. Faber Castell Pitt Artist Pen
Pros: 
  • Accessible.  Amazon and Blick have them.  
  • They come in packs of 3 or 4, so you don't have to buy a bunch of things you don't need to get the metallic pens. 
  • Nibs are high quality
Cons: 
  • Expensive.  These were at the high end of our prices, which would be ok except... 
  • Poor pigment payout.  This set was by FAR the worst pigment payout of all the pens tested.  It was really disappointing! 
2. Baoke Metallic Craftwork Pens
Pros:
  • Accessible!  I got these on Ali Express, which takes awhile to get, but I also found them for a little more money on Amazon.  The Amazon listing, depending on how many you bought cost anywhere between $1.74 per pen (4 pack) to the same $0.83 per pen (12 pack).  
  • Pigment!!!!  Holy moley these pigments were beautiful!  I didn't think I would get pigments this good from a non-paint pen.  
  • They come in packs of gold and silver only, so you don't have to buy other colors to get the metallics. 
Cons: 
  • These only seem to have one size of nib, and while I'm not holding the nib quality against it, you would not be able to get fine details easily with these pens.  
3.  Crafter's Square Metallic Marker
Pros: 
  • Affordable!  Price is $1 per marker and you buy them separately.  
  • Markers are smooth and pigmented.  
Cons: 
  • I know on the swatch I said these are accessible, but that's because I have a Dollar Tree right near my house!  These are only available at the Dollar Tree, and so if you don't have a Dollar Tree locally, they might be hard to find.  
  • This is one of two gold pens that has that "silver gold" sheen that I was talking about.  But the pigment payout is STILL better than the Faber Castell Pens in my opinion. 
4.  Sargent Art Metallic Markers
Pros: 
  • Accessible.  I bought these from Zulily with other art supplies, but Amazon also sells them for the same price.  
  • Affordable!  
  • The nibs on these markers are really nice and flexible and felt very high quality.  These were my favorite nibs!  
  • Pigment payout on these markers was good and they were shiny!  
Cons: 
  • The markers come in a pack of 6, which has other colors.  This is a con for me, because I will definitely use the gold and silver faster than the other colors and won't be able to easily replace the gold and silver.  
  • This was the other set of pens with the "silver gold" sheen on the pens, and it was probably the worst of the two.  
5.  Miaosun Acrylic Paint Pens
Pros: 
  • Accessible. I got these on Amazon.  
  • Reasonably affordable.  These were actually on the higher end of our price point at $1.25 a pen.  
  • Excellent pigment payout.  Being a paint pen, this one was immediately superior to everything that came before it.  
  • Pack of 8 had 3 gold, 3 silver, 1 black and 1 white in it.  This is good for replacing the pens.  
Cons: 
  • These *were* on the upper end of the price point at $1.25 a pen, but I'm really just stretching there to find a con.  
6. AROIC Acrylic Paint Pens
Pros: 
  • Super affordable!  This was the most affordable pen I tried!  
  • Accessible!  This one was an Amazon buy.  
  • Excellent pigment payout, very similar to the other paint pen above.  
Cons: 
  • These two metallic pens came in a set of 24, and I couldn't see a way to just buy the gold and silver on their own.  I've already used both the gold and silver quite a bit from this set, and so I wish they would sell the metallics separately.  
  • The gold had some glitter in it, which helped with the shine but was definitely a surprise. 
Specialty Pen: Molotow Liquid Chrome Pen

Pros: 
  • Best silver color that I own.  Pigment payout is incredible, and shine is beautiful!  
  • Accessible!  These can be purchased on Amazon or Blick.  
  • Comes in several different nib sizes.
Cons: 
  • Each pen runs about $10-12 depending on nib size etc.  These are SUPER pricey pens!  I got one in an art box after I bought one myself, otherwise I wouldn't have two of them!  

Ok, so who wins the battle?  

Top 3 picks (one for large coverage, one for details, one special consideration): 
  • Baoke Metallic Craftwork Pen
    • This pen was affordable and had excellent pigment payout!  It comes in metallics only sets, and has a nice sized nib for coverage!  
  • Miaosun Acrylic Paint Pens
    • These pens are affordable and also had excellent pigment payout!  This comes in a metallics plus black and white paint pen set, which is very reasonable for the price.  These pens also had the best pigment payout AND have a nice, fine nib to get into the details!  
  • Molotow Liquid Chrome Pen - Special Consideration
    • This pen is amazing but it was EXPENSIVE.  I've only had both of mine for about 5-6 months, but so far they both still work great.  This is definitely not a budget brand, and doesn't have a gold counterpart that I have discovered to date.  But this one does work really well!  
Bottom 2 picks: 
  • Sargent Art Metallic Markers
    • These weren't expensive, but they were the same price as other budget pens that performed better.  They also only come in a set of 6 colors as far as I could find, and so you cannot buy the gold and silver separately.  
  • Faber-Castell Pitt Artist Pens
    • Easily, these were my biggest disappointment! I got these in an art box, BUT they are expensive pens and they had a really disappointing pigment payout!  I would definitely pay for any of the other brands before I'd buy these again.  
I know I didn't test every type of metallic pen or marker out there, but I figured I had a pretty large cross section here to consider!  Which brands would you like to see me test in the future?  Sharpie? Posca?  Let me know in the comments below!  

Saturday, February 27, 2021

Sympathy Cards using Background Stencils

 Happy Saturday everyone!  This week, we got some sad news about a family friend that had passed away.  Because of this sad news, my daughter and I sat down and made some sympathy cards to send to their closest loved ones.  In my own style, I usually make sympathy cards that are less busy than my normal designs and often will try to make sure they are decently flat so they can be mailed.  

Lately, I have really been enjoying using my stencils to make backgrounds.  Last year, I bought a nice set of background stencils on Amazon for about $13.  It was around 25 stencils, so this was a total steal.  They are a bit smaller than the standard card size, so you usually have to work hard to get a seamless transition OR just work around it.  On this card, I used a strip of cardstock to hide the transition.  Even though these are a little smaller than what the stamp companies sell, the price for these was well worth it!!!  I use them all the time!  

I used several distress inks (Mermaid Lagoon, Lucky Clover, Cracked Pistachio, and Salty Ocean) to make the background.  After it was inked, I went over it with a lighter layer to make the background match.  I also inked a piece of cardstock for the inside to match.  

Years ago, I bought some ivory pearl cardstock from Paper Source for some wedding invitations.  I still have a whole pack of it that I recently remembered I had, and so I thought it would be the perfect base for this card.  


All of these sentiment stamps come from the Simon Says Stamp Sympathy Greetings Mix that I picked up last September.  It was one of the last stamp sets I have purchased, but I didn't have a good sympathy stamp set, so I know it will be used for many many years.  It also have some nice thinking of you and love sentiments, so it's a really versatile set.  

My lovely 7-yo daughter also wanted to make a card - and so she inked these sweet roses and stamped this beautiful sentiment on top.  I was really proud of how nice her card turned out, so I asked if I could share it here.  :-)  


Do any of you have go-to layouts for certain types of cards?  What are your favorite card making techniques right now?  Let me know in the comments below! 

Saturday, February 13, 2021

Patterned Paper Valentines

 Happy Valentine's Day!  

Today I'm sharing some Valentines that I made that are GREAT because: 

  1. They use up patterned paper that you might have a hard time using in other ways
  2. They are easy and can be done in stages while watching lots of TV
  3. They can be done with any patterned paper, sentiments, etc... so they aren't specific to V-Day
  4. They are flat and VERY mail-able! 
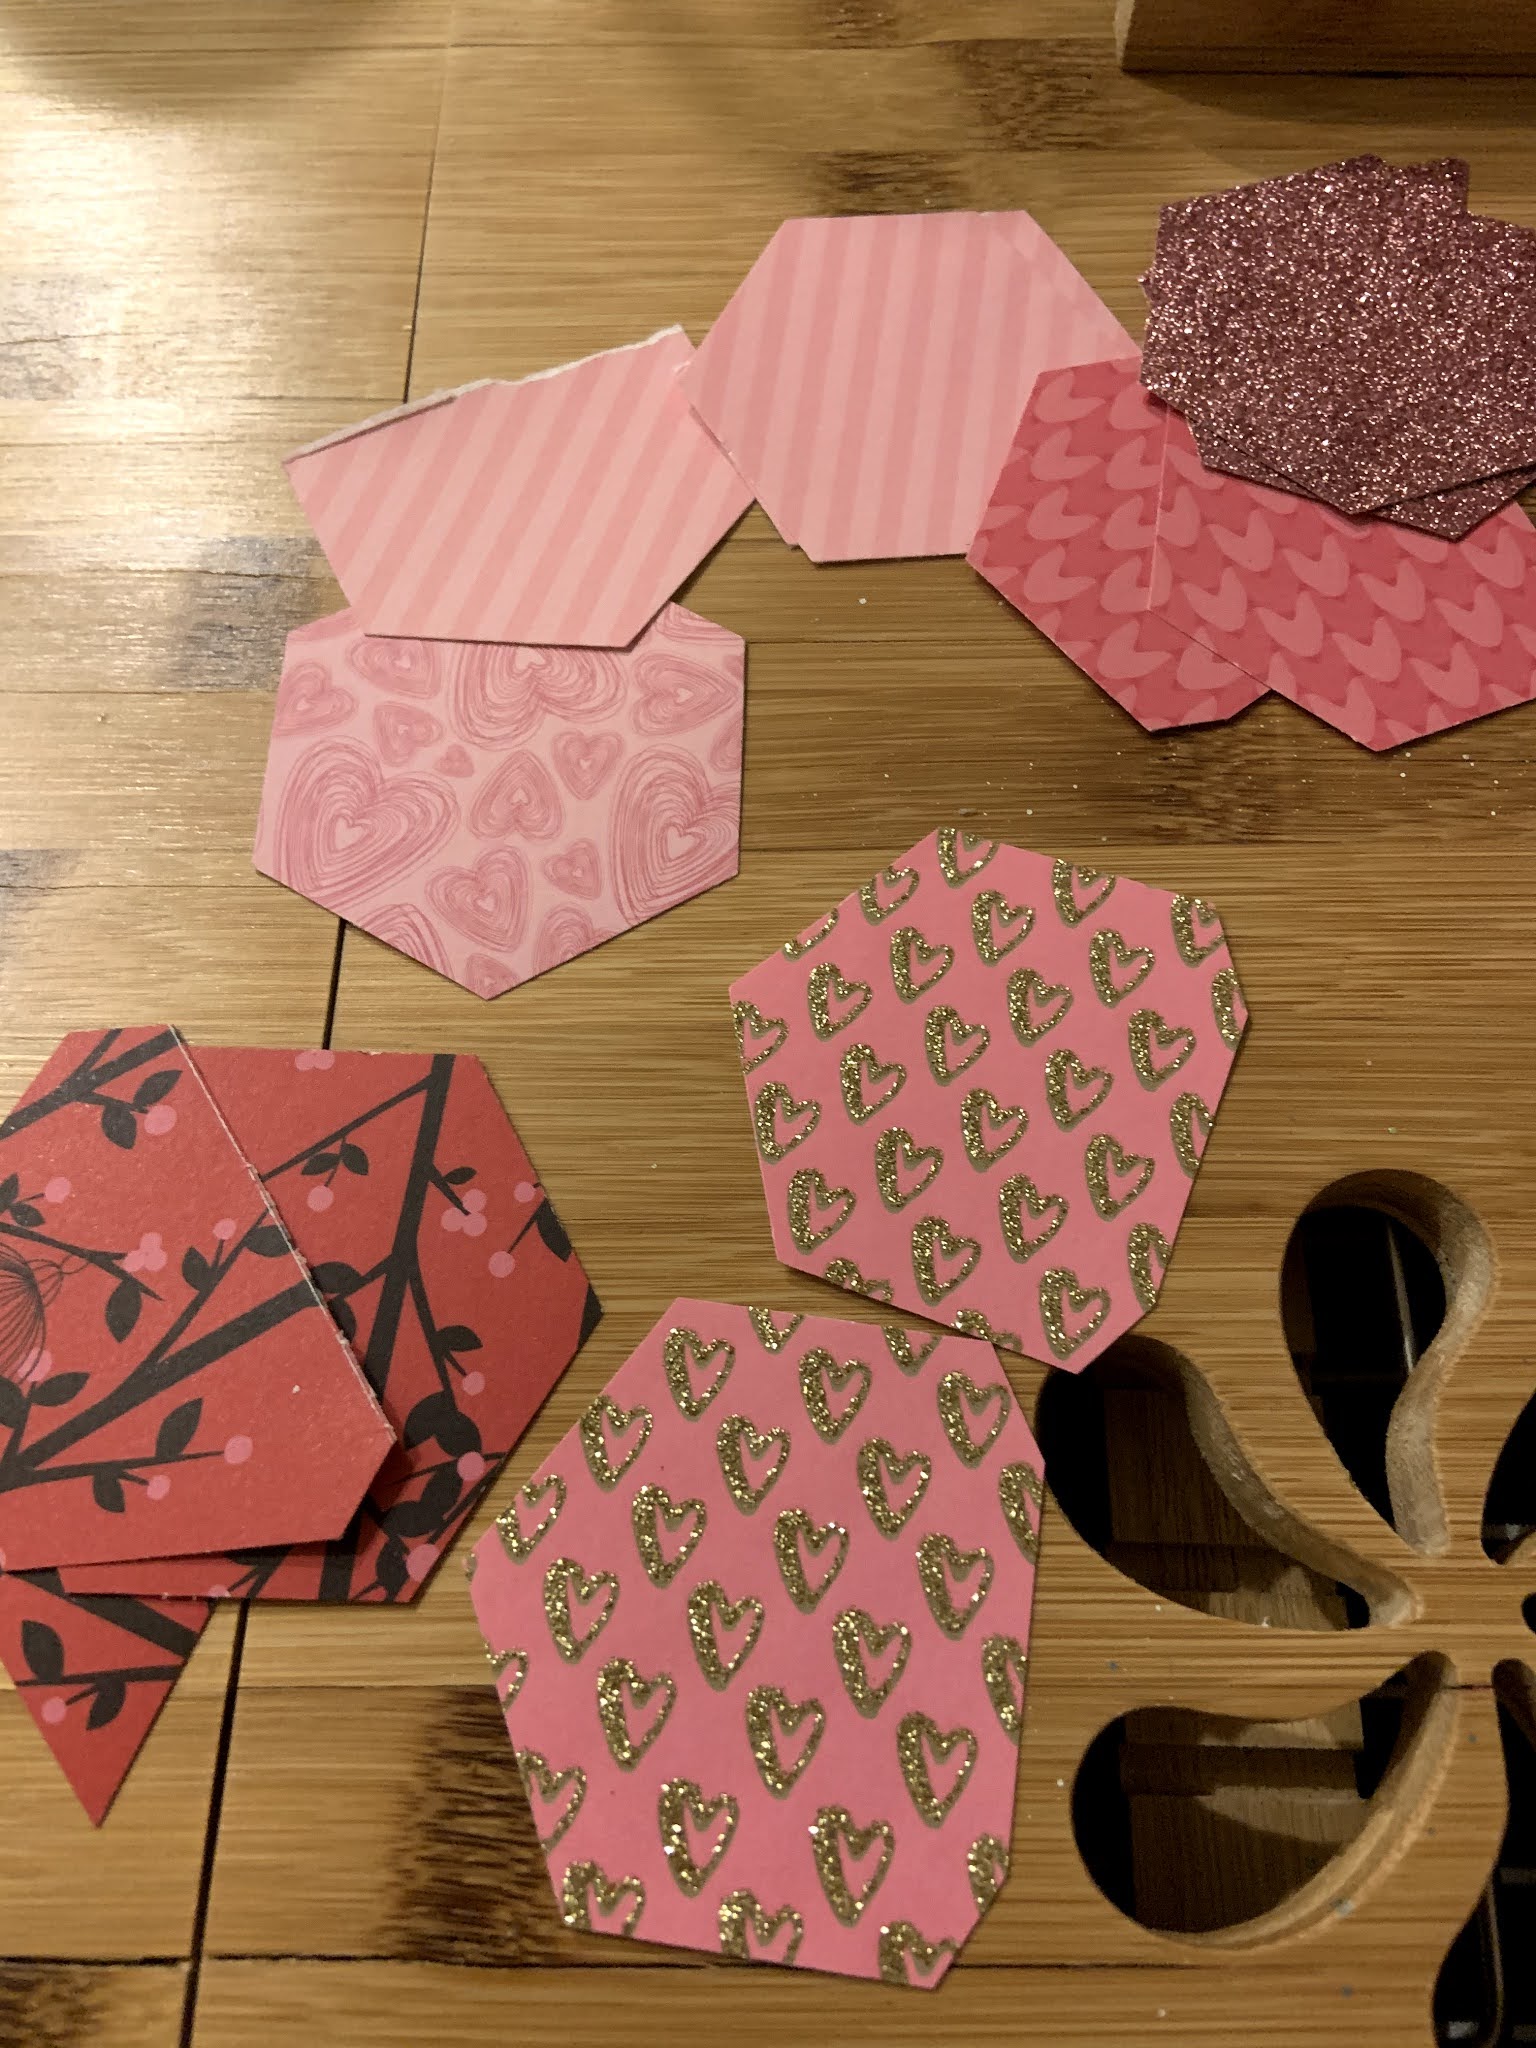
I have a hexagonal paper punch that I really love and don't use enough.  For these cards, I took this punch and several V-Day patterned papers that I know I wouldn't use for a background and I punched out a TON of hexagons and partial hexagons.  I had VERY little paper leftover from this process, and I used almost all of them to make a total of 6 cards!  I also punched white/blank hexagons to glue on for sentiments.  

Note: you could do this with lots of punches, even circles!  You could also do it with a shape die cut OR simple paper strips too!  There's really no wrong way to do it!  The idea is to use up some patterned paper to create a new, interesting card front!  


Then, I glued the hexagons onto a 4.25 by 5.5 piece of pink cardstock.  I left a little border around the hexagons but you could also completely cover up the background if you wanted to!  If you are going to leave a border, try to pick a color that matches your pieces.  This process was pretty easy and mindless, and I did it while I was watching TV. 


The next day, I stamped a sentiment on each card.  I used a simple "With Love" sentiment because I liked the simple stamp against the busy background.  Then, I glued the card fronts to plain, white cards!  


And that's it!  This project was super great because it used up a bunch of my papers in a creative way, AND it creates a beautiful background that is also flat and easy to mail!  I'm looking forward to revisiting this idea in the future for some fun and fast birthday cards!  

Have you ever done something similar to this with patterned paper? What shape of punch or die cut would you use?  Let me know in the comments below!  

Wednesday, January 27, 2021

Quick and Easy Valentines Part 2!

This past weekend, my lovely daughter and I sat down in our craft room to get inky and make some Valentines!  

I know a lot of people dislike Valentine's Day, but truthfully I've always looked at it as a day share the love with everyone in my life!  I usually make about 20 valentines to send to friends and family. Because of the proximity of Valentine's Day to Christmas, I never want to make anything that is TOO complicated when it comes to these cards!  So these cards are all very similar, small, and clean in design.  

Another note about these projects - everything I'm using here is at least 5 years old!  I love my Valentine's stash and I've been using the same one I stocked YEARS ago - so please feel free to use what you have!!!  I'm really trying to not spend much money this year on paper crafting and to focus on finding love in the products that I have!  


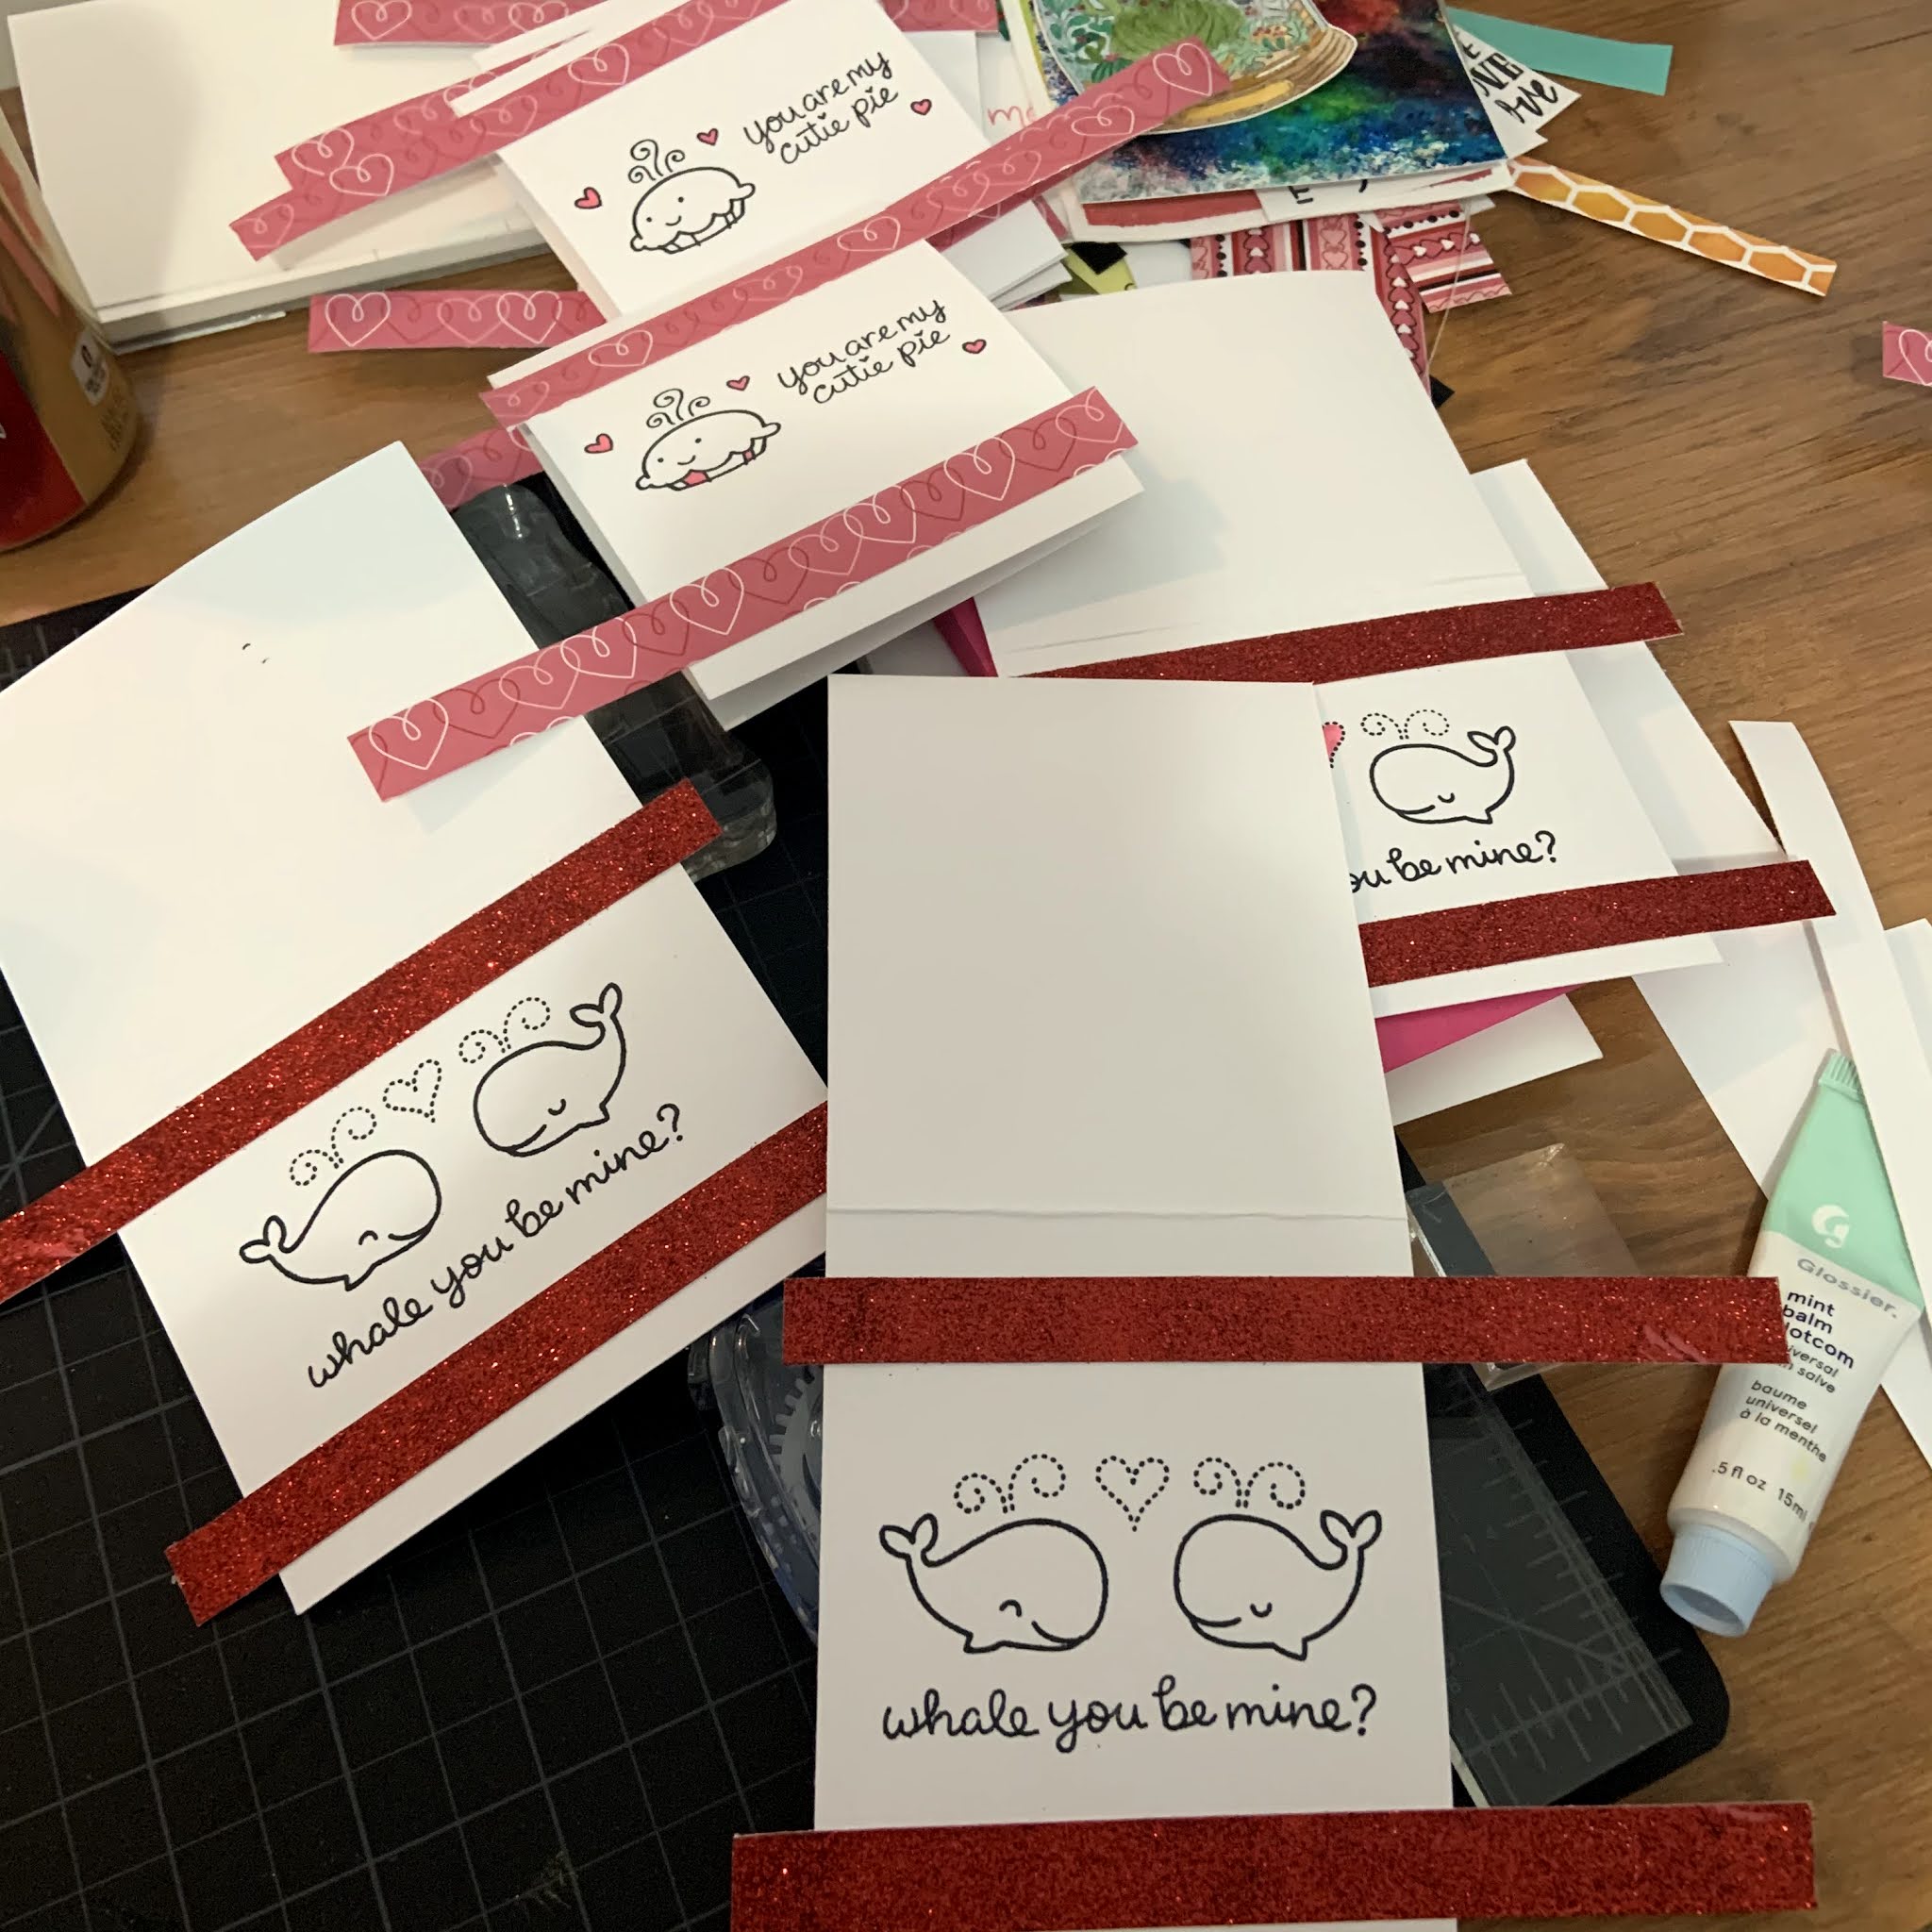
These cards are 4-bar size.  I used two Lawn Fawn sets that I enjoy: My Silly Valentine and Whale You Be Mine?  I stamped the images directly on the card front in Memento black ink, and then colored in the images with my alcohol markers.  I cut simple strips of patterned paper and glitter paper from my stash and glued them to the front and trimmed them to fit.   


Next, I cropped the bottom edges of each card with my Corner Chomper.  I like the look of that on a smaller card, it feels like a nice little finished detail with very little effort.  I stamped a sentiment on the inside of each card and also glued a piece of patterned paper on the top to hide the bleed through from the alcohol markers.  

In about 90 minutes I was able to finish 8 cards!  I already have a few others in my stash from other card making days, so I'm about halfway through making my Valentine cards now!  


Are you guys making Valentines this year?  What are your favorite Valentine stamps?  Leave me your favorites in the comments below!  

Tuesday, January 12, 2021

2021 Plans and Quick Valentines

 Happy Tuesday readers!  

I started this blog last year as a way to have a place to expand on my artsy Instagram endeavors.  With that, I've been doing art box and product reviews and showcasing certain ideas and tutorials and I've been having a blast!  So I've decided to set up a more structured posting schedule!!!  

When will you post? Every Tuesday and Saturday! 

What will you post? They will include, but not be limited to: 

  • Bullet Journal Journey
  • Sketchbox reviews
  • Other supply reviews
  • Tutorials for watercolors or cardmaking
  • DIY Projects
So I'm really looking forward to this as we go forward!  I hope you will visit on Tuesdays and Saturdays and check out what we have to offer!  

And now, onto the quick Valentines post!  

I made these cards last year and wanted to share a way to stretch your valentines stamps while also using them to make an easy card!  

I love small, clean and simple cards sometimes, and so I'm a big fan of 4-bar envelopes.  These cards were created to fit into 4 bar envelopes, but you could just as easily apply the concept to a traditional A2 sized card.  For my purposes, I cut out three strips of cardstock that were 3.5" by 8.5" and scored them to make 3 cards that are 3.5" by 4.25".  

I used my favorite Valentine sentiment stamp set from Lawn Fawn - My Silly Valentine.  I have gotten so much use out of this one stamp set over the years!  If you have any stamp set with love sentiments on it though, you can make it work! 

Next, I colored in my images very simply and used a solid colored piece of grosgrain ribbon across the bottom as a finishing touch.  Then I cropped the bottom edges of the card for a rounded look and took a scrap piece of patterned paper and glued it inside to finish the top inside edge.  I love doing this on a card and think it's a simple technique that really makes the card looked finished. 

The thing I like best about this card is that it is subtle.  I didn't use a TON of red and pink and chose a sentiment that could apply anytime of year as a thinking of you card.  These cards churn out quickly and easily and you can save them for anytime of year if you don't send them all in February!  I absolutely love having quick, flat, easy to mail cards at any time of year!  

One last thing, I'm only linking this stamp set because it's one I've used over and over again and it's very versatile in my opinion.  If you have supplies that can work with this, please use what you have!  I'm going to try this year to be more mindful of using the supplies that are already in my stash instead of buying new ones every month.  

I hope you enjoyed this short, easy card tutorial!  What are your favorite go-to quick cardmaking supplies?  

Tuesday, November 17, 2020

Easy Watercolor Christmas Cards

Christmas cards, already?  I know, I know, it's not even Thanksgiving yet in the states!  But if you know me, you know that I make Christmas cards pretty much all year so that I have enough to send out to our very wonderful and large list of family and friends!  By the time we reach November, I'm pretty much looking for a quick and easy type of card with maximum wow factor but minimum effort.  Honestly, that's pretty much ALWAYS the goal!  

This year, I really wanted to get more use out of my metallic watercolor set.  I love this set of paints from Paul Rubens:  

This is the second most expensive watercolor set I own (behind my artist-grade watercolors), and while I love it, I rarely get it out and play with it!  I made it a point last weekend to just get it out and use it, and I ended up with some really great designs!  


1. First, I cut black paper down to 4.25 by 5.5" squares.  I ended up trimming a few of them down and leaving the others the size of the card front.  I used Strathmore black mixed media paper for some of them and Astrobrights black 65lb cardstock for others.  I did NOT buy expensive black watercolor paper for this project - so use what you have!  

2. I painted!  My first picture was a fir tree that I let dry and then spattered on lots of different colors.  The second was a bunch of holly.  The third was a round ornament that I used as the O in Joy.  The fourth was a Christmas wreath that took me a little longer, but I just layered and played with leaf and pine shapes until I got it where I wanted it, and then added berries for a pop of color.  

3. Assemble!  For 3 of the 4 pictures, I added a sentiment (the JOY card didn't need one!).  To do this, I used Christmas sentiment strips that I bought at Simon Says Stamp, and I die cut some words from a Christmas die cut set that I have from Newton's Nook.  For this step, I'm using supplies I already have.  If you don't have Christmas word die cuts OR premade sentiment strips, you could use stamps, write a sentiment with a gel pen, or paint a sentiment with brush lettering!  The point of a handmade card is for it to look handmade, so don't fuss too much if it isn't perfect!  

It felt really good to spend some time using some supplies that I don't use normally.  I was really pleased with how all four of these cards turned out - and I can't wait until they spread some Christmas cheer to family and friends!  


I hope this post gives you some holiday inspiration to get out there and create!